A workspace is essentially a top-level repository that hosts projects in Unitlab Annotate. One workspace can hold many (unlimited, theoretically) projects. Each workspace has its own members, settings, API keys, and pricing plans. Keep in mind that each subscription you buy is only for the workspace. You can buy different pricing subscriptions depending on your needs.
With our data annotation platfrom, you can create an unlimited number of workspace instances. When you create your account for the first time, you are automatically assigned a workspace. Depending on the size of your projects, you may need additional instances of workspace. By default, these instances come at a Free plan.
Managing workspace efficiently is essential for AI, computer vision, and data annotation projects. Unitlab Annotate provides a comprehensive platform data annotation that simplifies the setup, invites team members, and manages access with role-based permissions. In this post, we’ll walk through the key steps of workspace management to help you get the most out of your projects.
Creating a Workspace
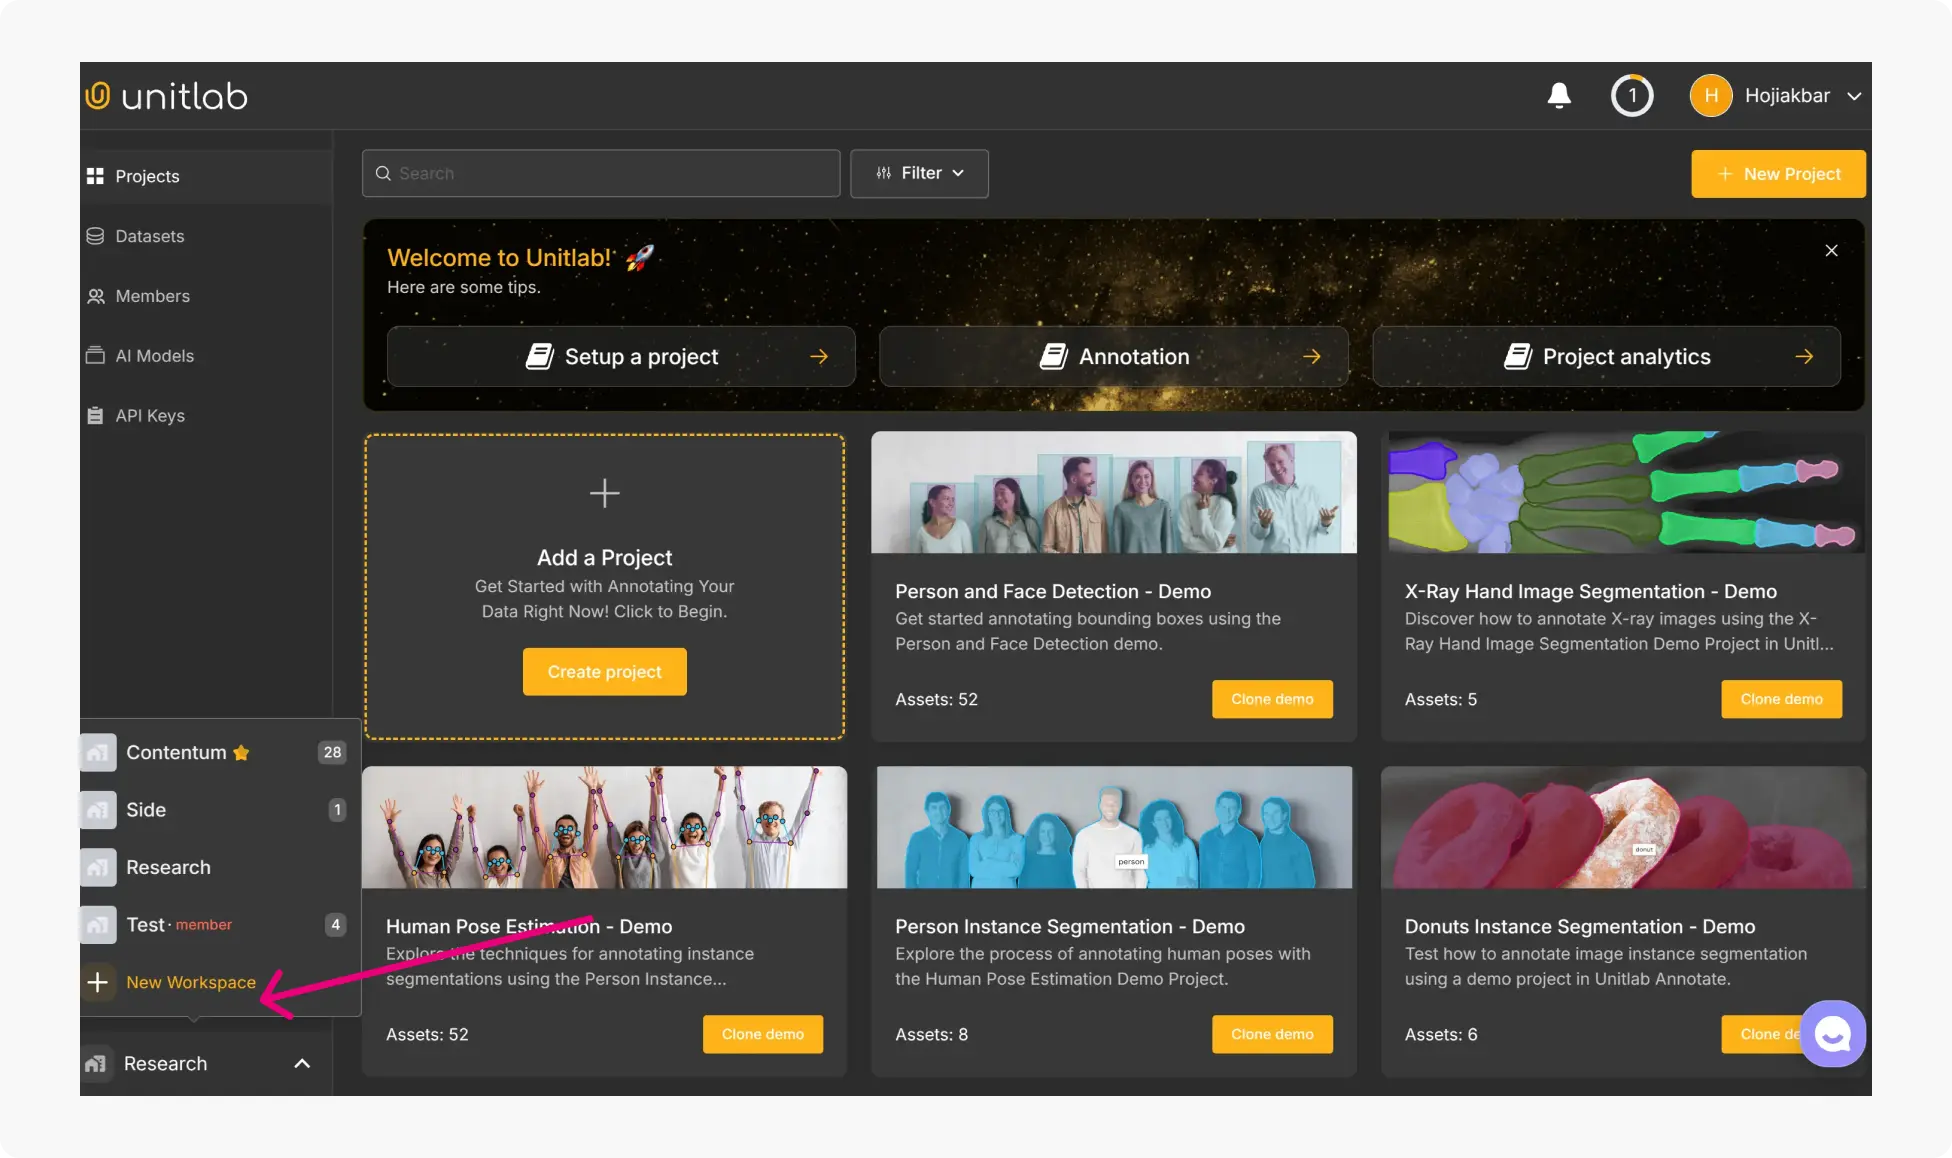
In Unitlab Annotate, each project belongs to a workspace. As soon as you register a Unitlab Annotate account, a workspace is automatically established for you. You can get started by creating projects in your current workspace and annotating your data.
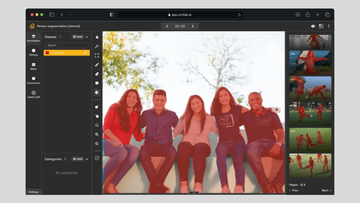
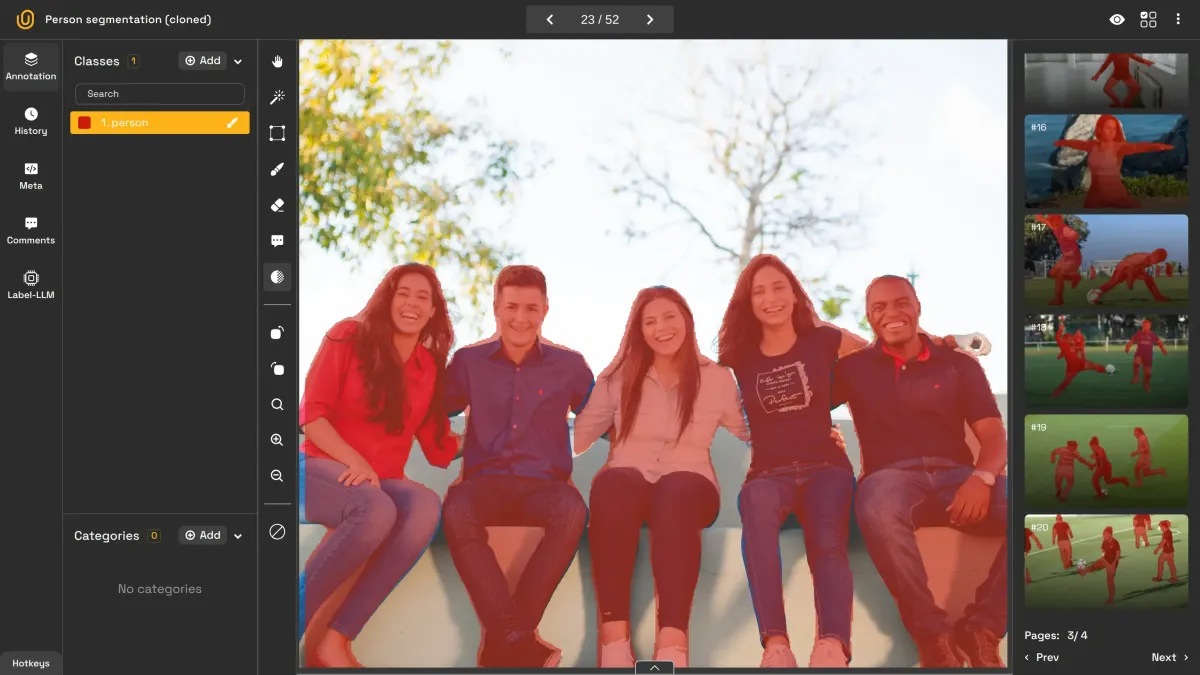
Project Creation | Unitlab Annotate
You can create an unlimited number of workspace instances to meet your project needs. Each workspace is independent, with its own team members and pricing, and you are assigned as the owner. A well-organized workspace ensures that your data annotation tasks and team collaboration run smoothly.
Setting Up a Workspace
Setting up a workspace in our data labeling platform is quick and easy:
- Click "New Workspace" on the dashboard:
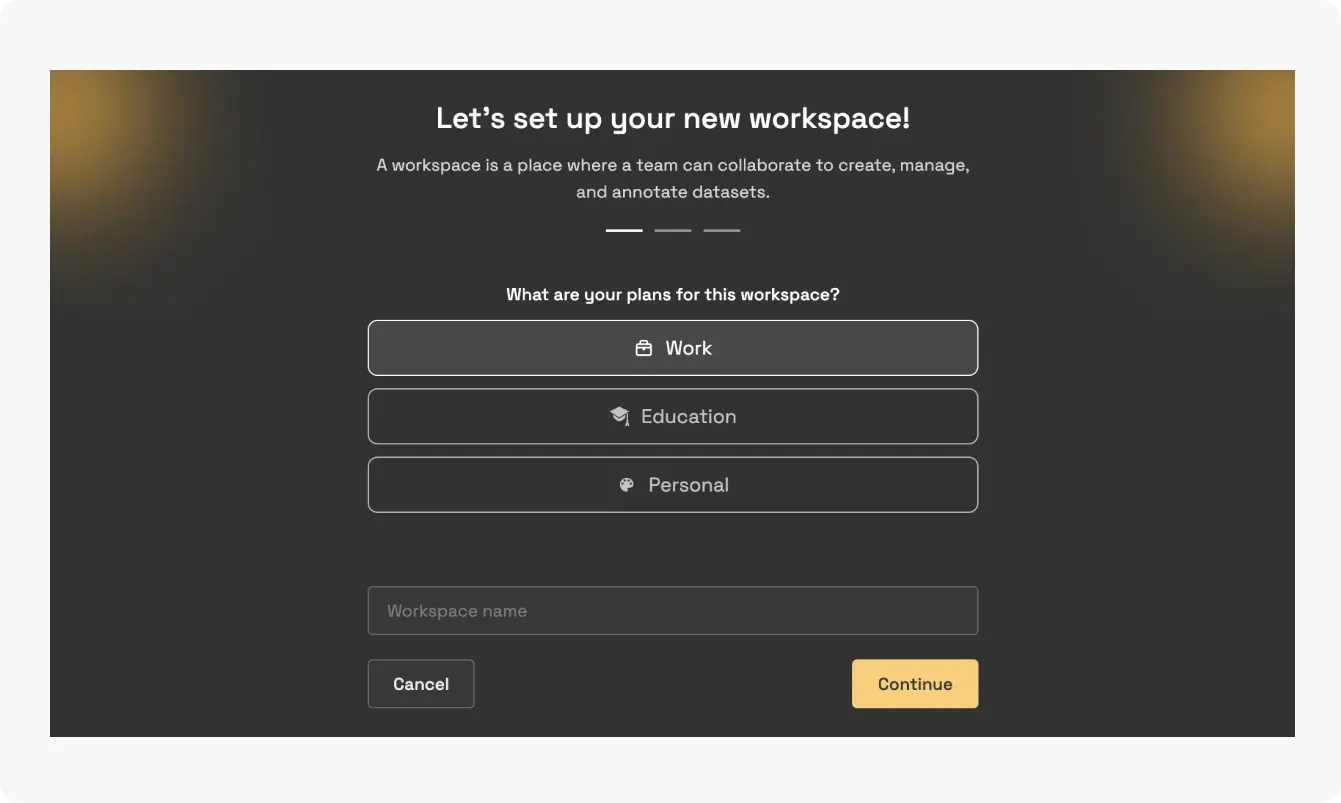
- Name Your Workspace: Select the purpose of your workspace and choose a meaningful name (like your organization or project name) since it becomes the workspace ID.
- Invite members: To skip sending invitations for now, click Skip. Don't worry, you can invite your team members later. If you have already entered your members' emails, simply select Continue. If you are under the free plan, you can add others only as Owners.

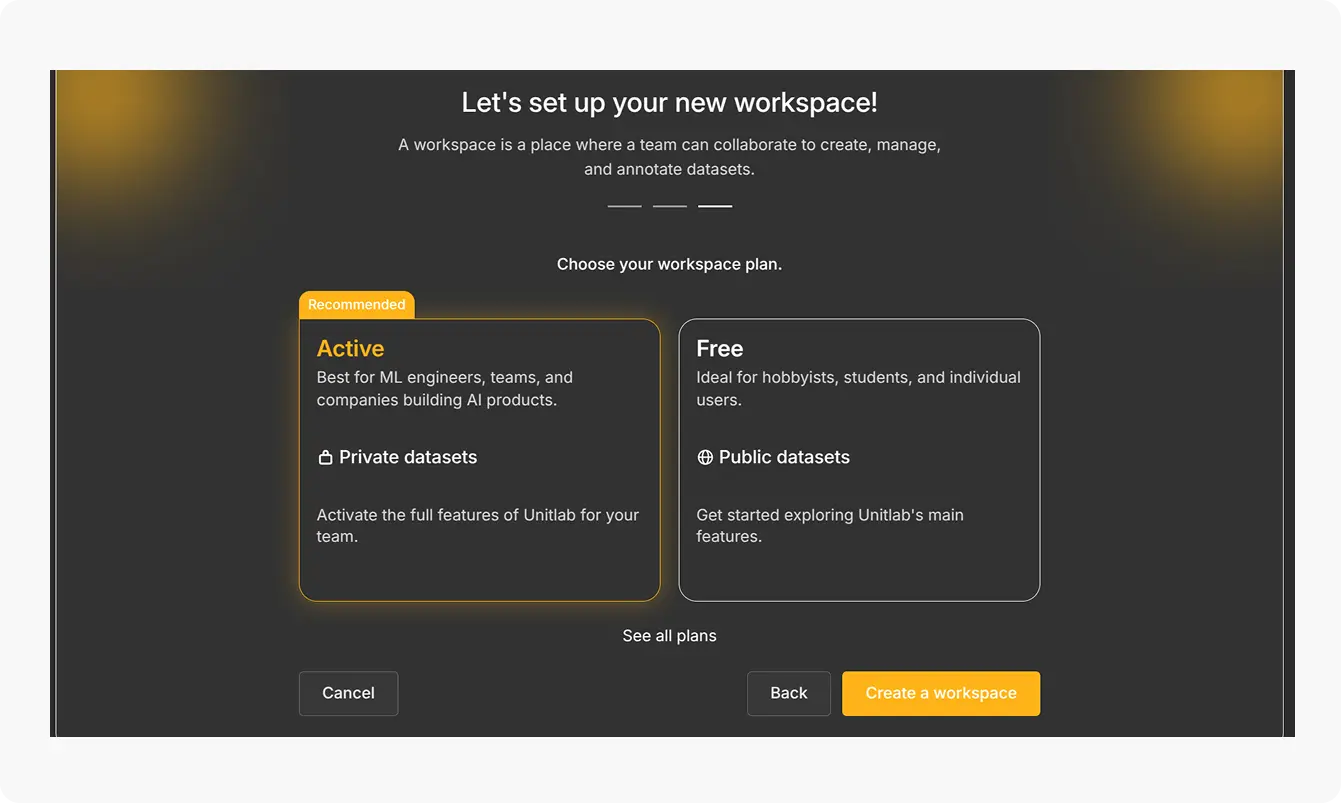
- Select a Plan: Choose a pricing plan based on your AI and computer vision project needs. Higher-tier plans unlock more features and additional member slots.
Once your workspace is set up, you can start working on your data annotation tasks.
Managing a Workspace
To manage a workspace, click the 'settings' icon. This button is located in the left corner of your Unitlab Annotate Dashboard.
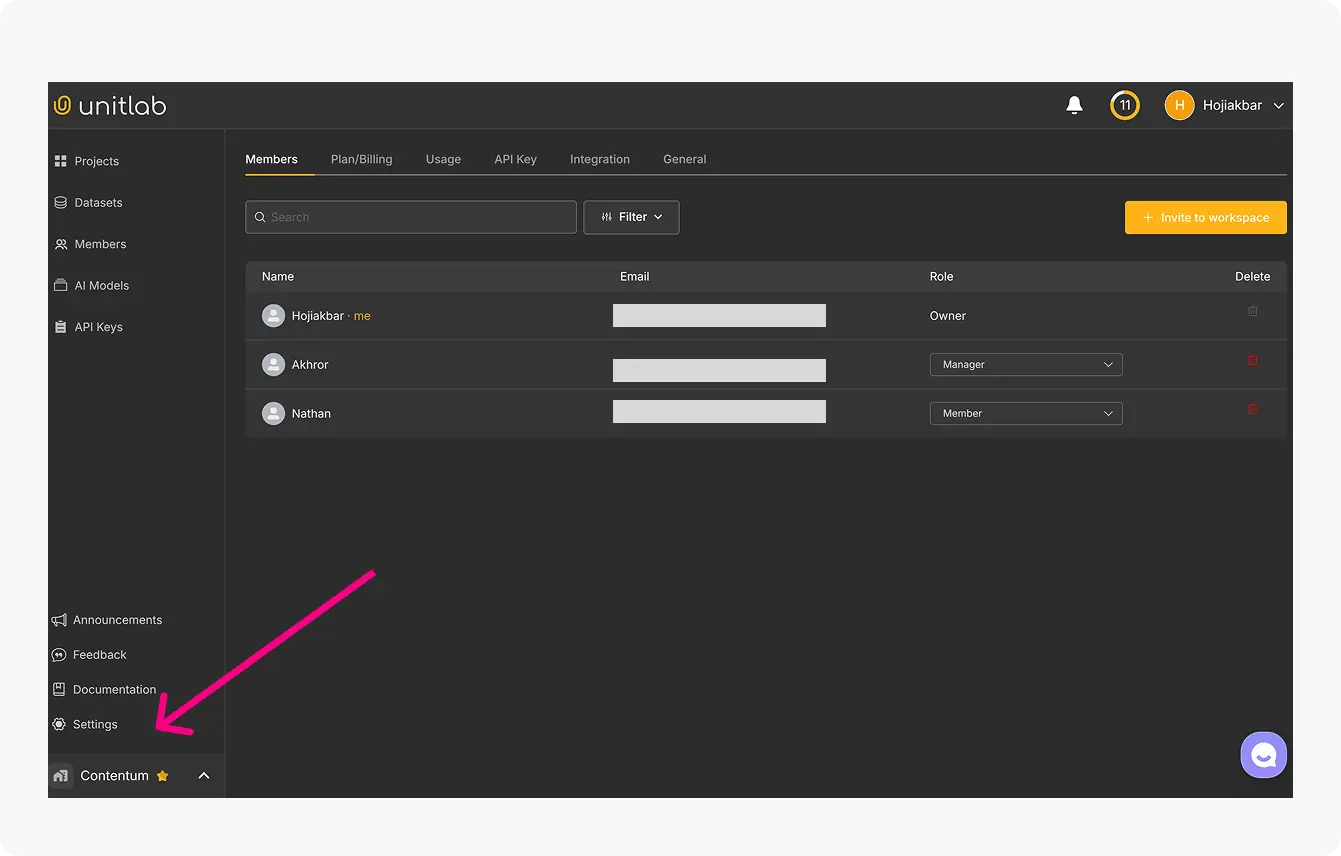
You can adjust the following:
- Members: Invite or remove members, or update roles
- Plan & Billing: Track your subscription and make changes if needed
- Usage: Monitor your data usage to avoid exceeding workspace limits
- API Keys: Generate keys to use Unitlab’s CLI or SDK for automation
- Integration: Integrate OpenAI to use generative AI
- General: Update the workspace name or avatar if necessary
Managing Invitations
While you have ownership of your own workspaces, you also have the option to become a member or manager in workspaces created by others in Unitlab Annotate. Similarly, your team members have their own workspaces, and you can invite them as a member or a manager to your workspace. You can invite members while setting up the workspace or anytime later.
This decoupled mechanism of workspace instances ensures that with one Unitlab Annotate account, you can effectively work at multiple instances of workspace.
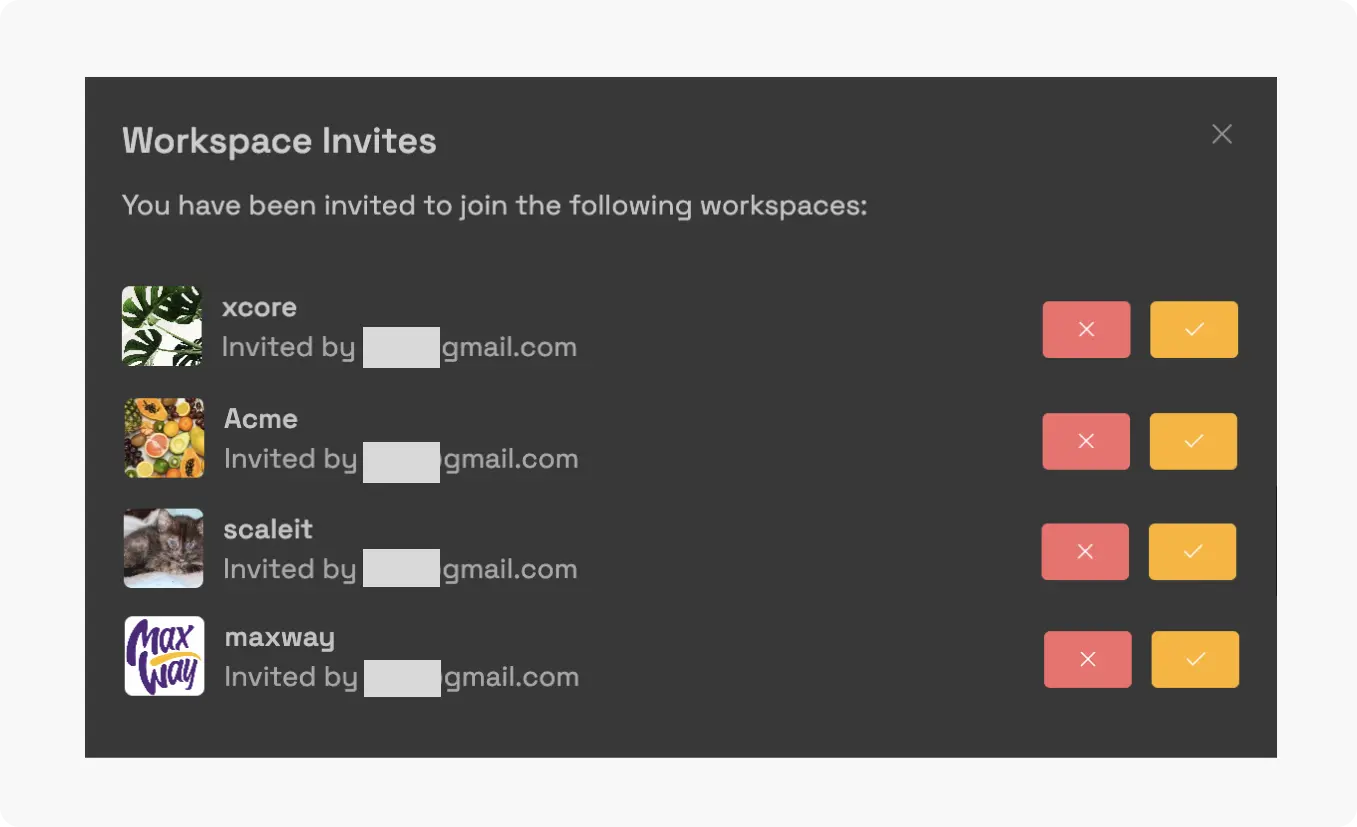
Registered members are notified both by email and Unitlab notifications, whereas emails are sent for new members to register and join the workspace. By accepting the invitation, they can become a member of the workspace and can be assigned to projects as an annotator or reviewer.
For registered users:
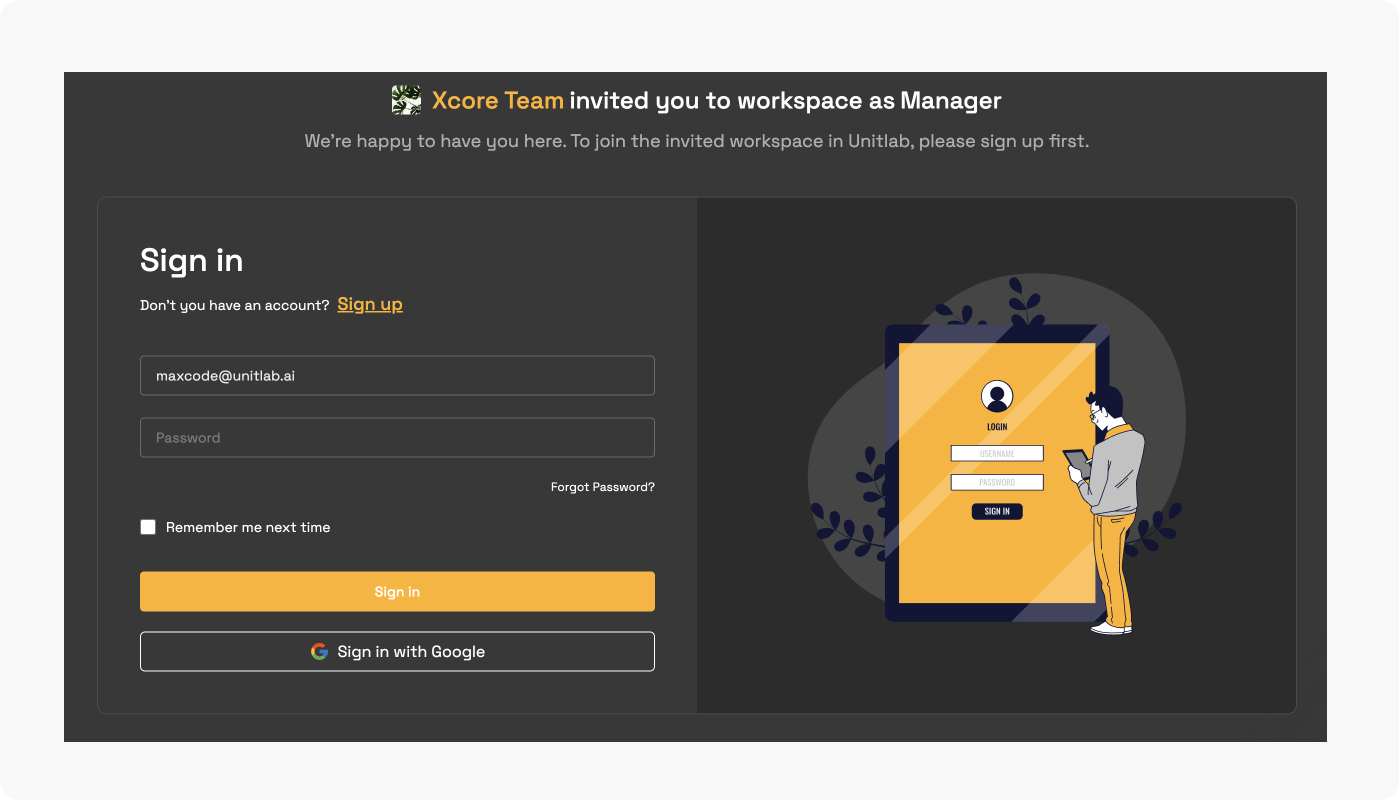
For new users:
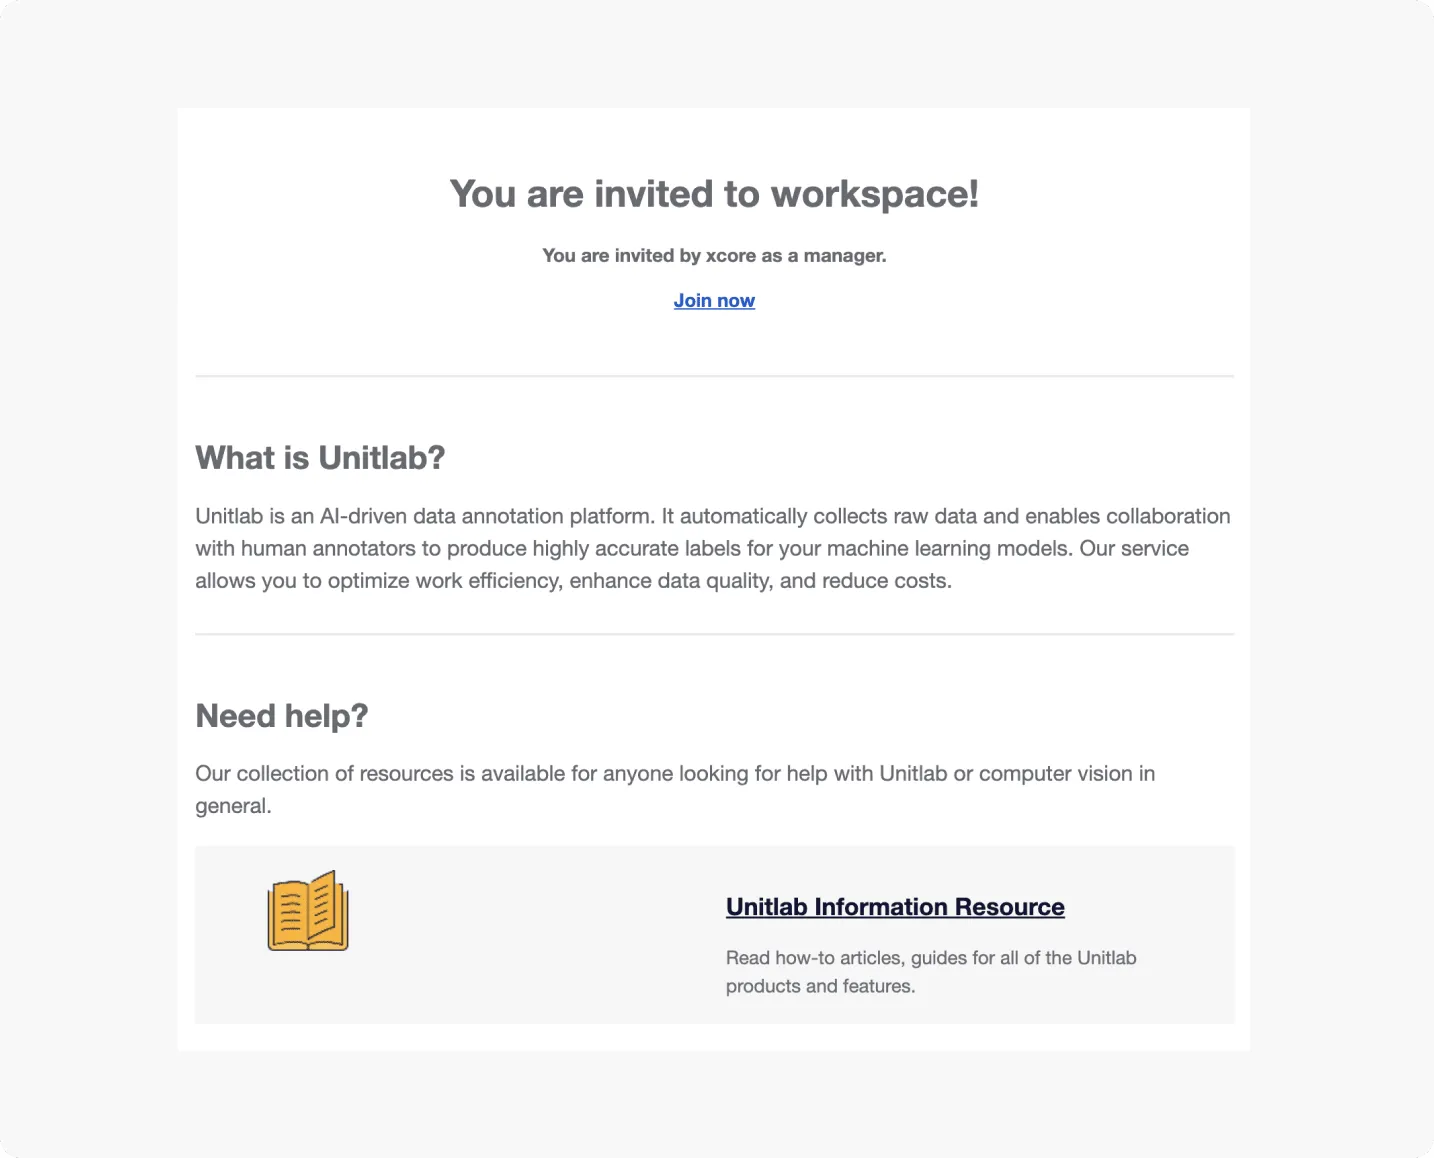
By clicking Join now, they can sign in and start working on the project.
Inviting Members
Inviting the right people ensures efficient progress across AI/ML and data annotation projects. Clear role assignments help the team stay focused on their tasks—whether annotating data or reviewing project outputs. If you are under the Free plan, you can invite others only as Owners. In paid plans, other users can be invited as:
- Managers: Handle administrative tasks and member management.
- Members: Work on project tasks, such as data labeling and reviews.
Members receive invitations via email and can join your workspace immediately. If they don’t already have a Unitlab account, they’ll be prompted to create one during sign-up. Their statuses are visible in the dashboard. If users do not join their status change from pending to rejected.
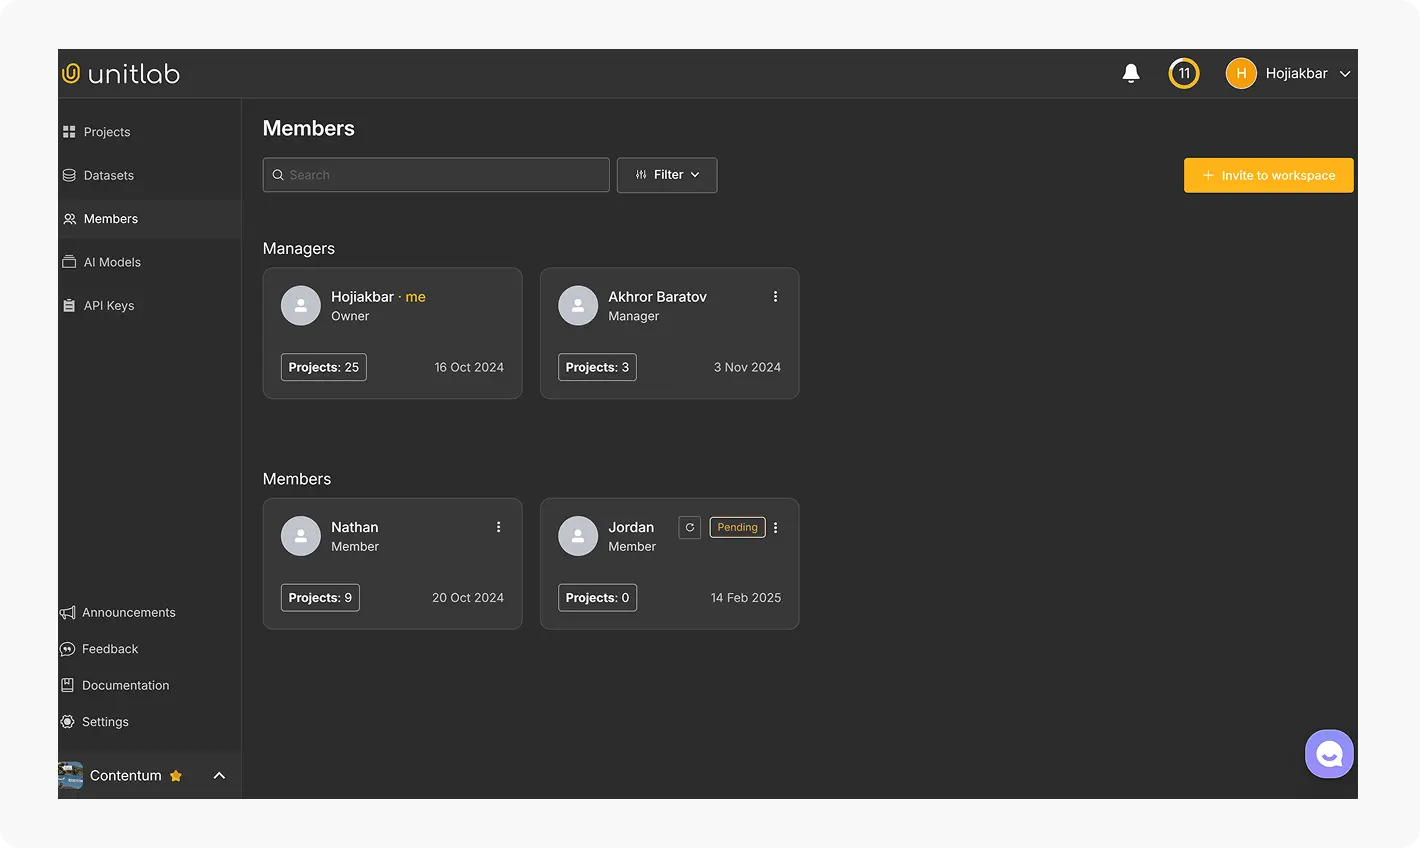
To invite someone to your workspace in Unitlab Annotate, click on the upper right corner, then enter the email address of the member you want to invite, along with their assigned role. Being in the free plan, we cannot choose the Manager and Member roles.

Inviting collaborators early ensures that your data annotation work stays on track across your AI and computer vision projects and data annotation process.
Role-Based Access
Role-based access control keeps your workspace secure by restricting members' access based on their assigned roles. This structure minimizes bottlenecks and enhances collaboration in AI/ML projects. There are three main roles within workspace:
- Owner: Full access, including billing and workspace management.
- Manager: Manages members and projects but cannot make billing changes.
- Member: Focuses on project tasks like computer vision labeling and reviewing. Can access only projects that are assigned to them.
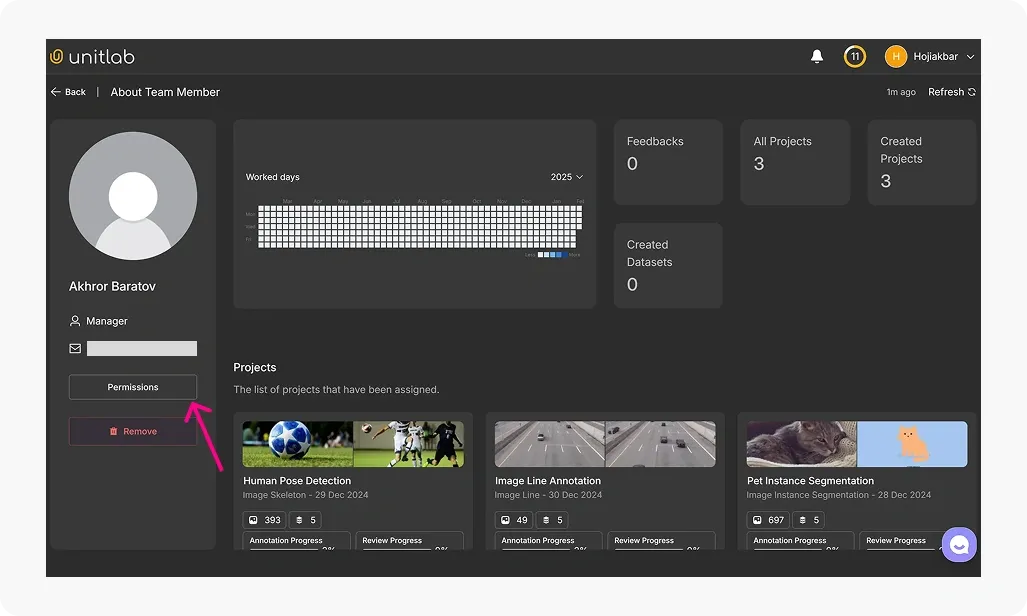
The owner has full access to the project and highest privileges. Managers have access to all projects and all project data irrespective of their assignments. However, you can manage each manager's permissions as follows:
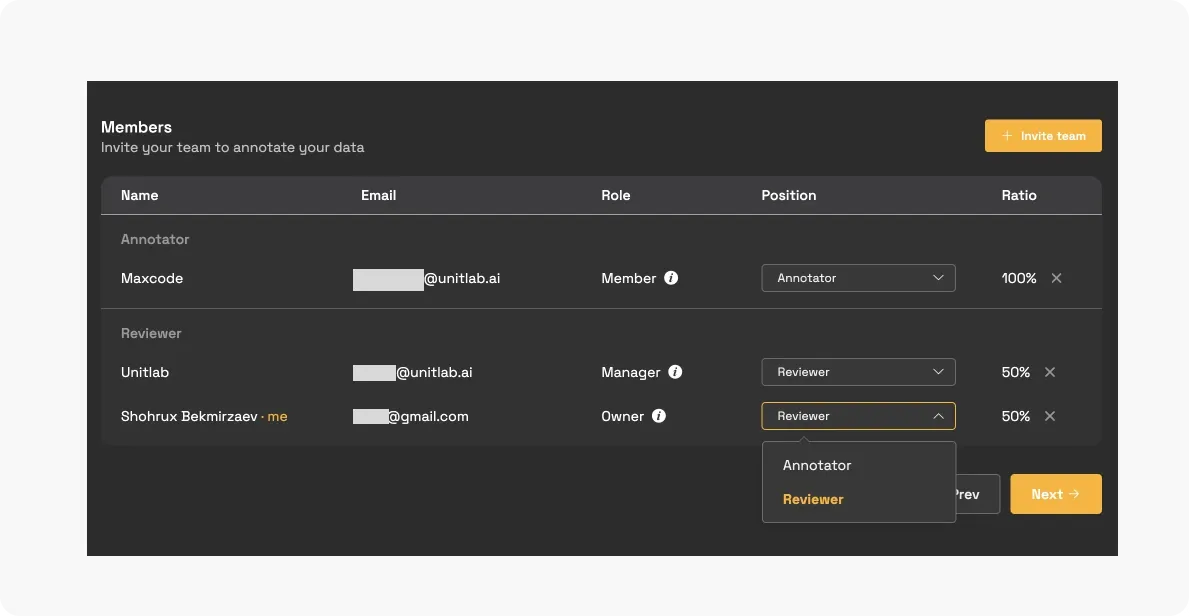
Within projects, members can be assigned specific positions:
- Annotators: Label data within a project.
- Reviewers: Manage and review annotations.
The annotator is a data annotator who labels source images in projects for computer vision models, while the reviewer is a specialist who overlooks labeled data to ensure consistency and high quality.
When creating a project in the workspace, you're required to assign members' position in the project as annotator or reviewer.
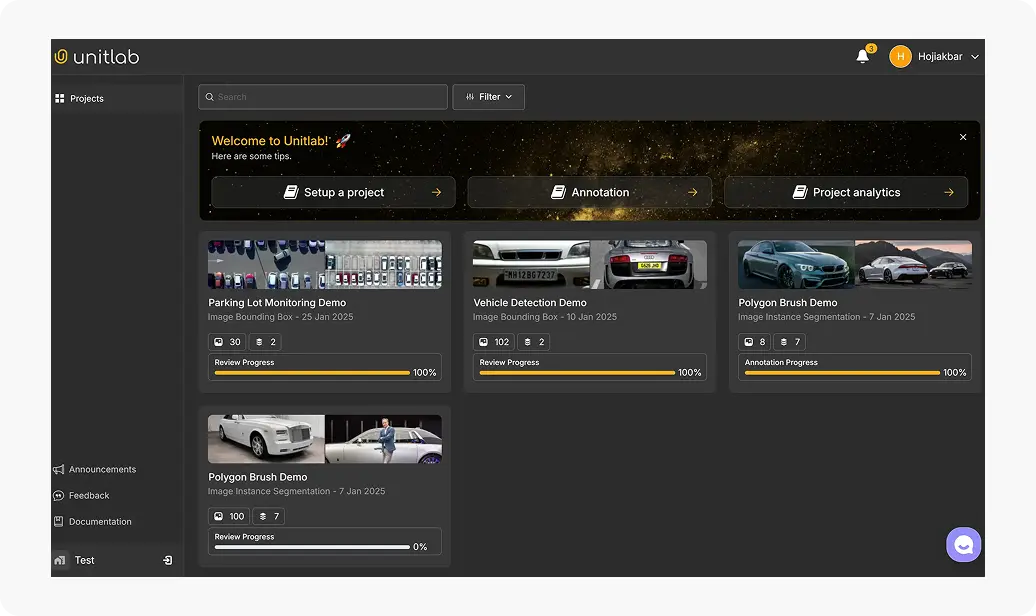
When members visit their project page, they can see a list of projects assigned to them. They can access only the data specifically assigned to them within each project as follows:
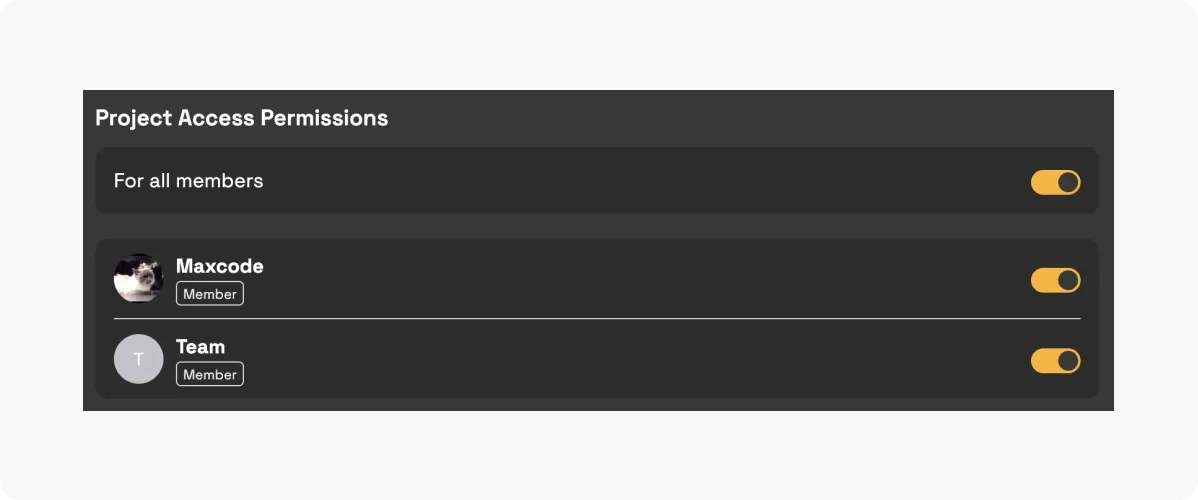
To restrict a member from a workspace, you can remove them directly from the Members page. If you need to restrict a member's access to a specific project, you can update their permissions in the project settings.
With this approach, Unitlab ensures that your workspace stays secure and efficient, with everyone aligned on their responsibilities.
Conclusion
Unitlab makes workspace management simple and effective for AI, computer vision, and data annotation projects. Its tools for creating workspaces, inviting members, and managing role-based access allow you to focus on building high-quality datasets for machine learning. With Unitlab Annotate you can also create datasets and release them to be used for your purposes. Check out this post.
Dataset Management | Unitlab Annotate
Ready to streamline your projects? Get started with Unitlab Annotate today!