Image data annotation seems pretty straightforward, and almost anyone can label a single image with some patience and basic training.
But annotating videos for computer vision models training is an entirely different beast.
A minute of video footage at 30 frames per second yields 1800 images arranged in sequence. This adds an extra layer of complexity.
You need an AI-powered tool that delivers frame-accurate video annotation. Otherwise, it can be a frustrating experience.
In this piece, we’ll guide you through:
- Definition and benefits of video annotation
- How Unitlab AI delivers frame-accurate video annotation at scale
- How to Annotate videos with auto-annotations for computer vision model training
- How to annotate a video with bounding boxes and keypoint skeletons
- Comparing Unitlab AI with Other Video Annotation Platforms
If you are looking for a high-performance video annotation tool for your team that can handle large-scale video data and fully automated workflows. Then try Unitlab AI, which helps your team move faster from raw footage to high-quality training data.
How Unitlab AI Delivers Frame-Accurate Video Annotation at Scale
Unitlab AI offers high-performance video annotation for large-scale video data, prioritizing automation and accuracy from the ground up. Unitlab AI key features include:
- Advanced Timeline Control: Features frame-by-frame navigation, zoom-in capabilities for dense sequences, and real-time scrubbing to ensure precise temporal alignment.
- Frame-Accurate Precision: Features pixel-perfect tools, temporal snapping, and range-based editing to ensure zero drift and consistent Object IDs across thousands of frames.
- SAM 3 Auto-Segmentation: Integrates foundation models (SAM 3 and EfficientSAM) to generate high-quality masks with a single click and automatically propagate them with robust occlusion handling.
- Unmatched Scale (100K+ Frames): Natively supports 10+ hour videos and 100K+ frames in a single timeline without splitting and scales linearly to prevent browser crashes.
- Advanced Native Rendering: Uses predictive buffering and lossless frame compression to enable instant scrubbing and lag-free playback, even with 10,000+ annotations.
- Visual Automated Workflows: Allow teams to chain multiple auto-labeling models (such as detection and segmentation) and QA gates on a visual canvas to pre-label data before human review.

How to Annotate Videos with Auto-Annotations Using Unitlab AI
Manual annotation of data is a tedious, repetitive, and really slow process. But Unitlab AI's AI-powered data annotation makes the process faster, more accurate, and easier to scale.
Let’s use it to illustrate the process and explain the steps.
Create a New Project
Log in to Unitlab AI and navigate to the projects section, and click Create New Project.
Give your project a descriptive name. Plus, choose Video since it loads the timeline-based editor rather than the static image editor.
Upload your video and set your frame rate
Click Upload Data and select the video file. Unitlab AI allows you to upload data from local + cloud storage, supports common video formats, and can handle large video files without requiring you to split them into smaller segments.
During the upload, you'll configure the annotation frame rate. Remember, the more imported frames, the larger the project. Frame rates (15-30 fps) capture more temporal detail and are better for fast-moving objects or actions that change quickly.
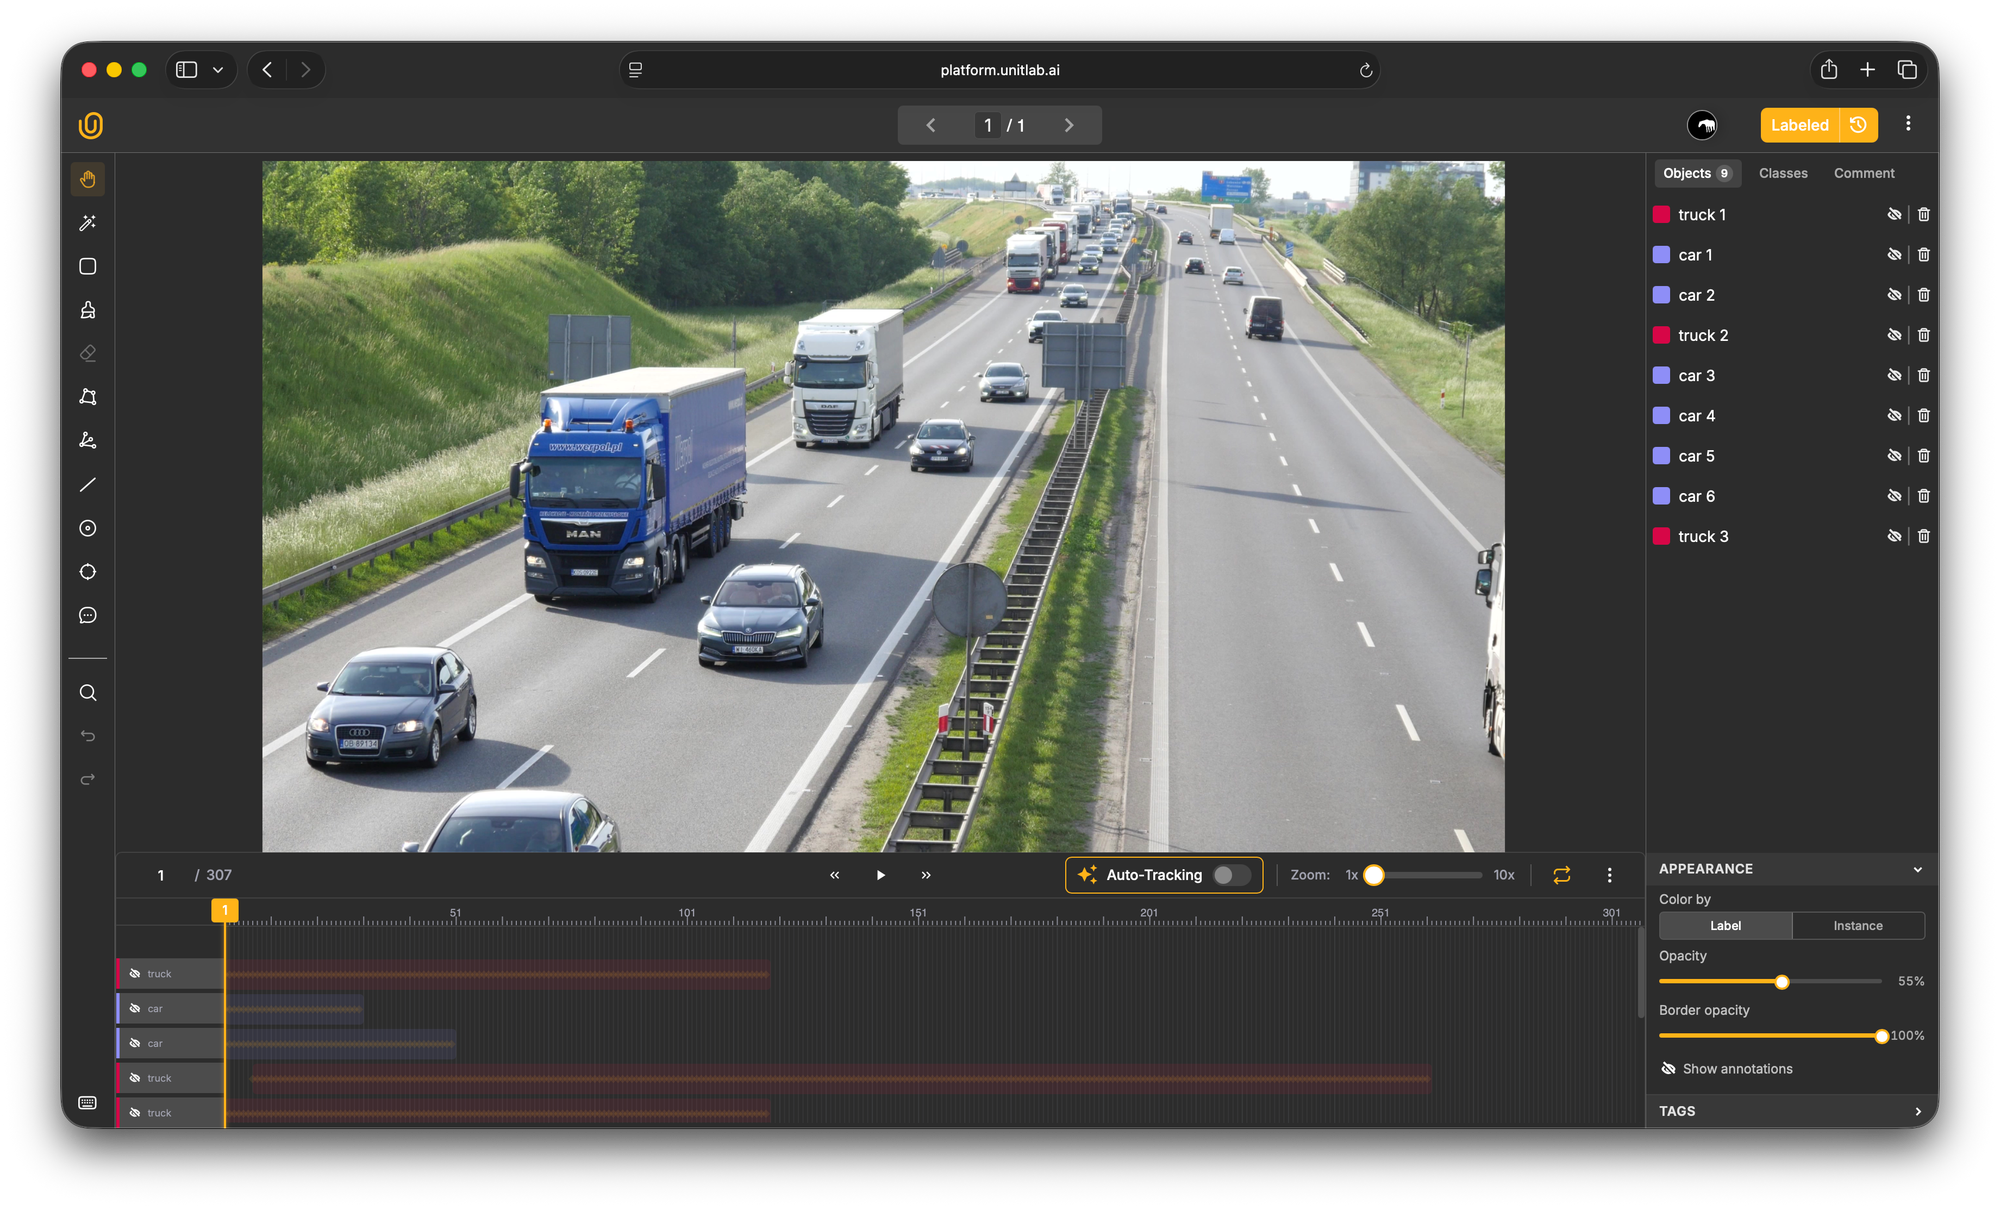
Once configured, Unitlab processes your video and makes all frames available in the annotation interface. You'll see a timeline view at the bottom showing the full length of your video sequence.
Select your object with Magic Touch (Auto-Annotate)
Click on the Magic Touch Tool in the left toolbar.
It activates Unitlab's AI-powered auto-segmentation feature that uses Meta Segment Anything Model (SAM) 3 and EfficientSAM to generate accurate segmentation masks.
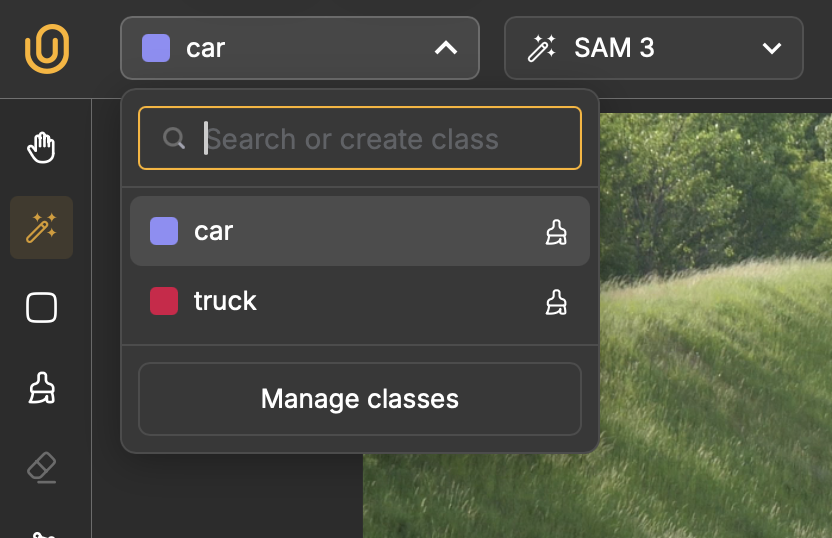
Before you start annotating, you need to create annotation classes for objects that appear in your video. In the class dropdown menu that appears next to the Unitlab AI logo, click Manage Class and name your first class like Car.
You can add multiple classes if you need to label different types of objects in the same video, such as Car and Truck.
After setting up the class, go to the first frame in your timeline and use the Magic Touch tool to select the car or object in your footage. Simply click on the object you want to annotate, and an annotation mask will be generated automatically. You can also adjust the label Opacity and Border opacity from the bottom right corner.
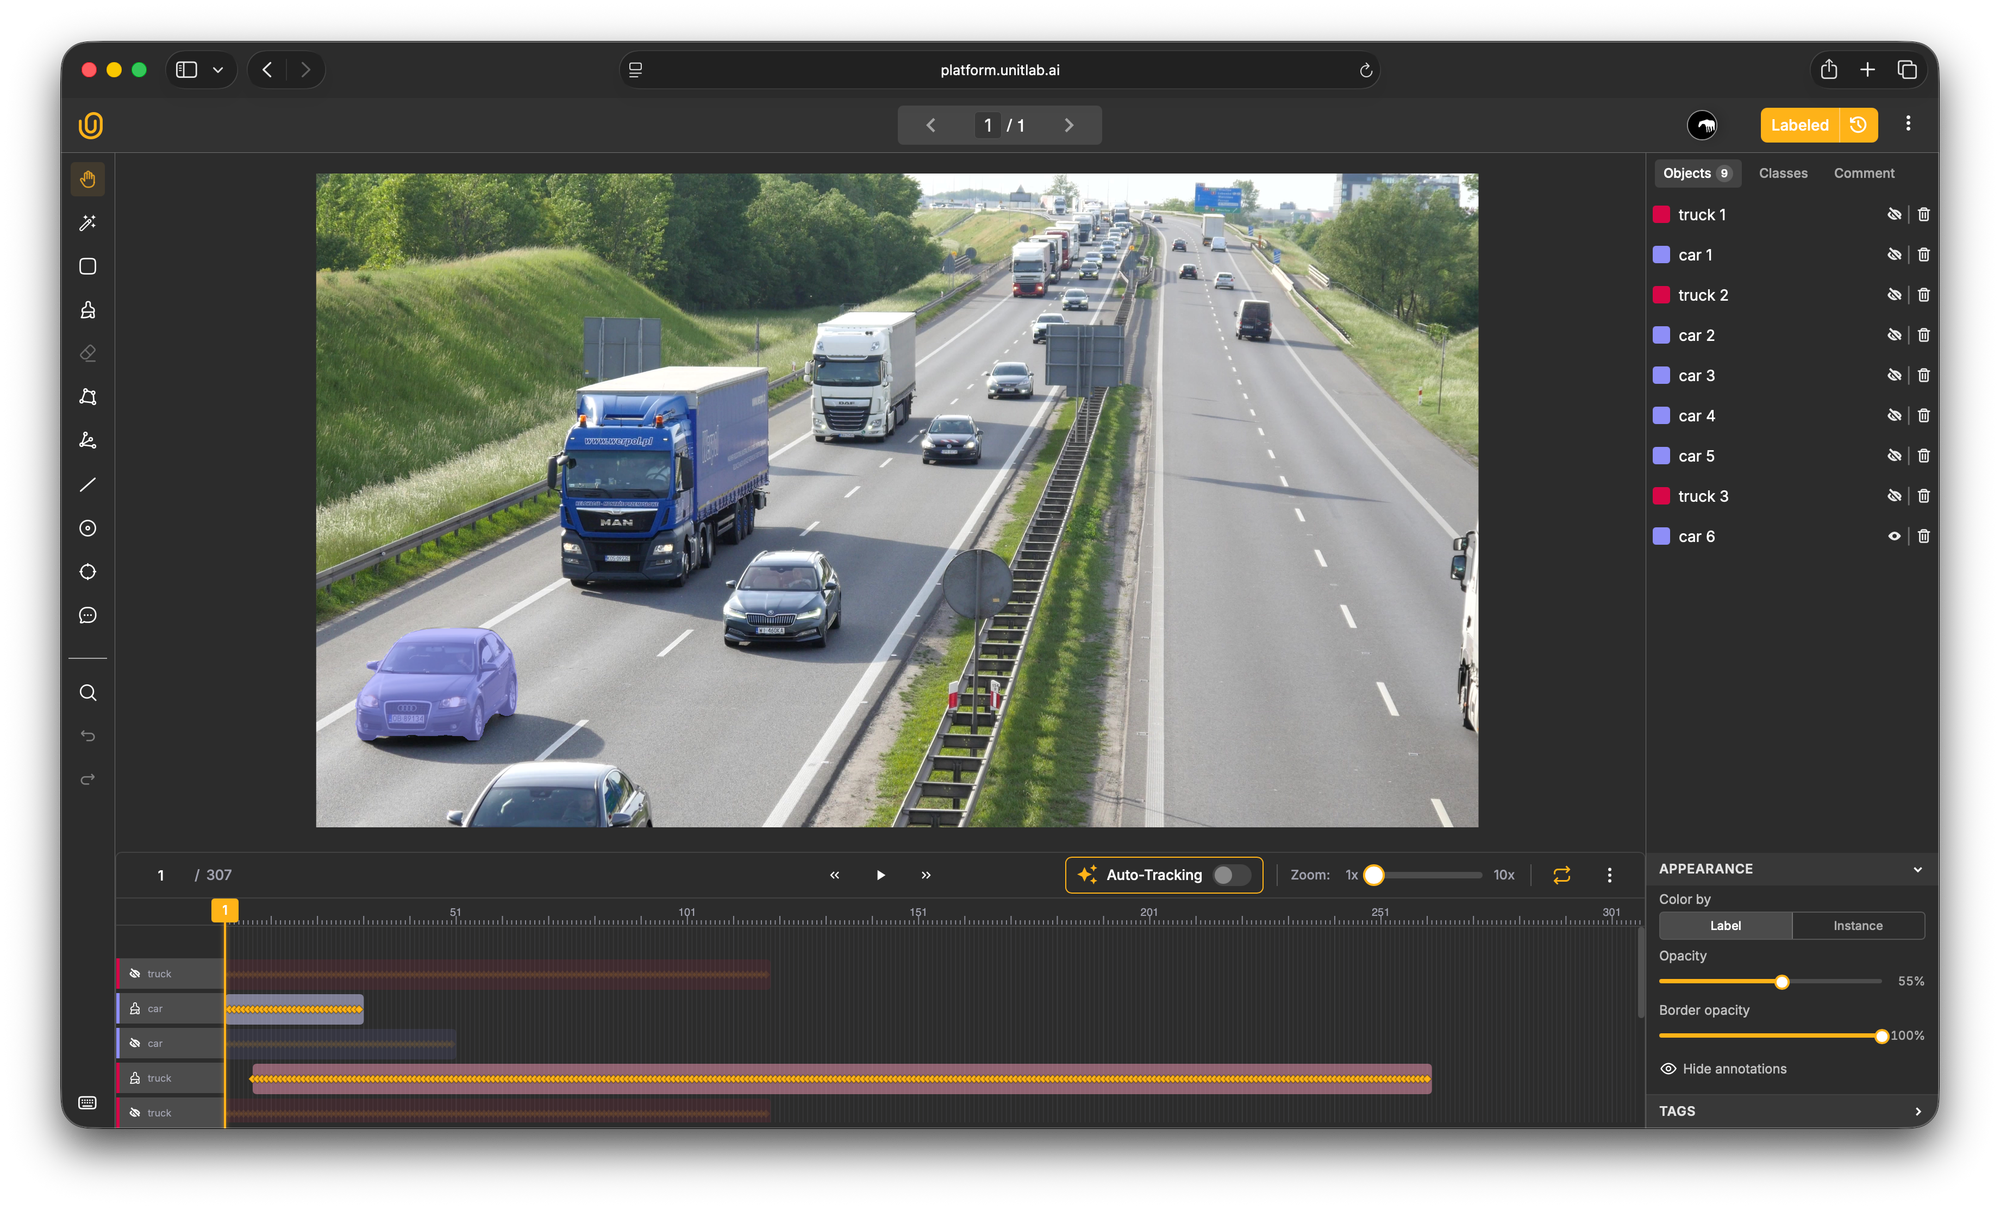
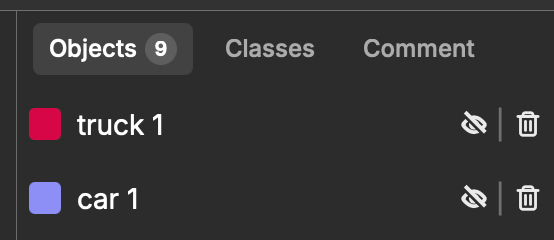
When you click on the object using the Magic Touch tool, the mask should be highlighted with the color of your class. The annotation will also appear in your annotations panel on the right side of the interface.
The auto-generated masks are typically very accurate, but you can refine them if needed. Add positive points by clicking the areas to include in the mask. And add negative points (with Shift+Click) to exclude areas that were incorrectly included.
Magic Touch Tool across your video
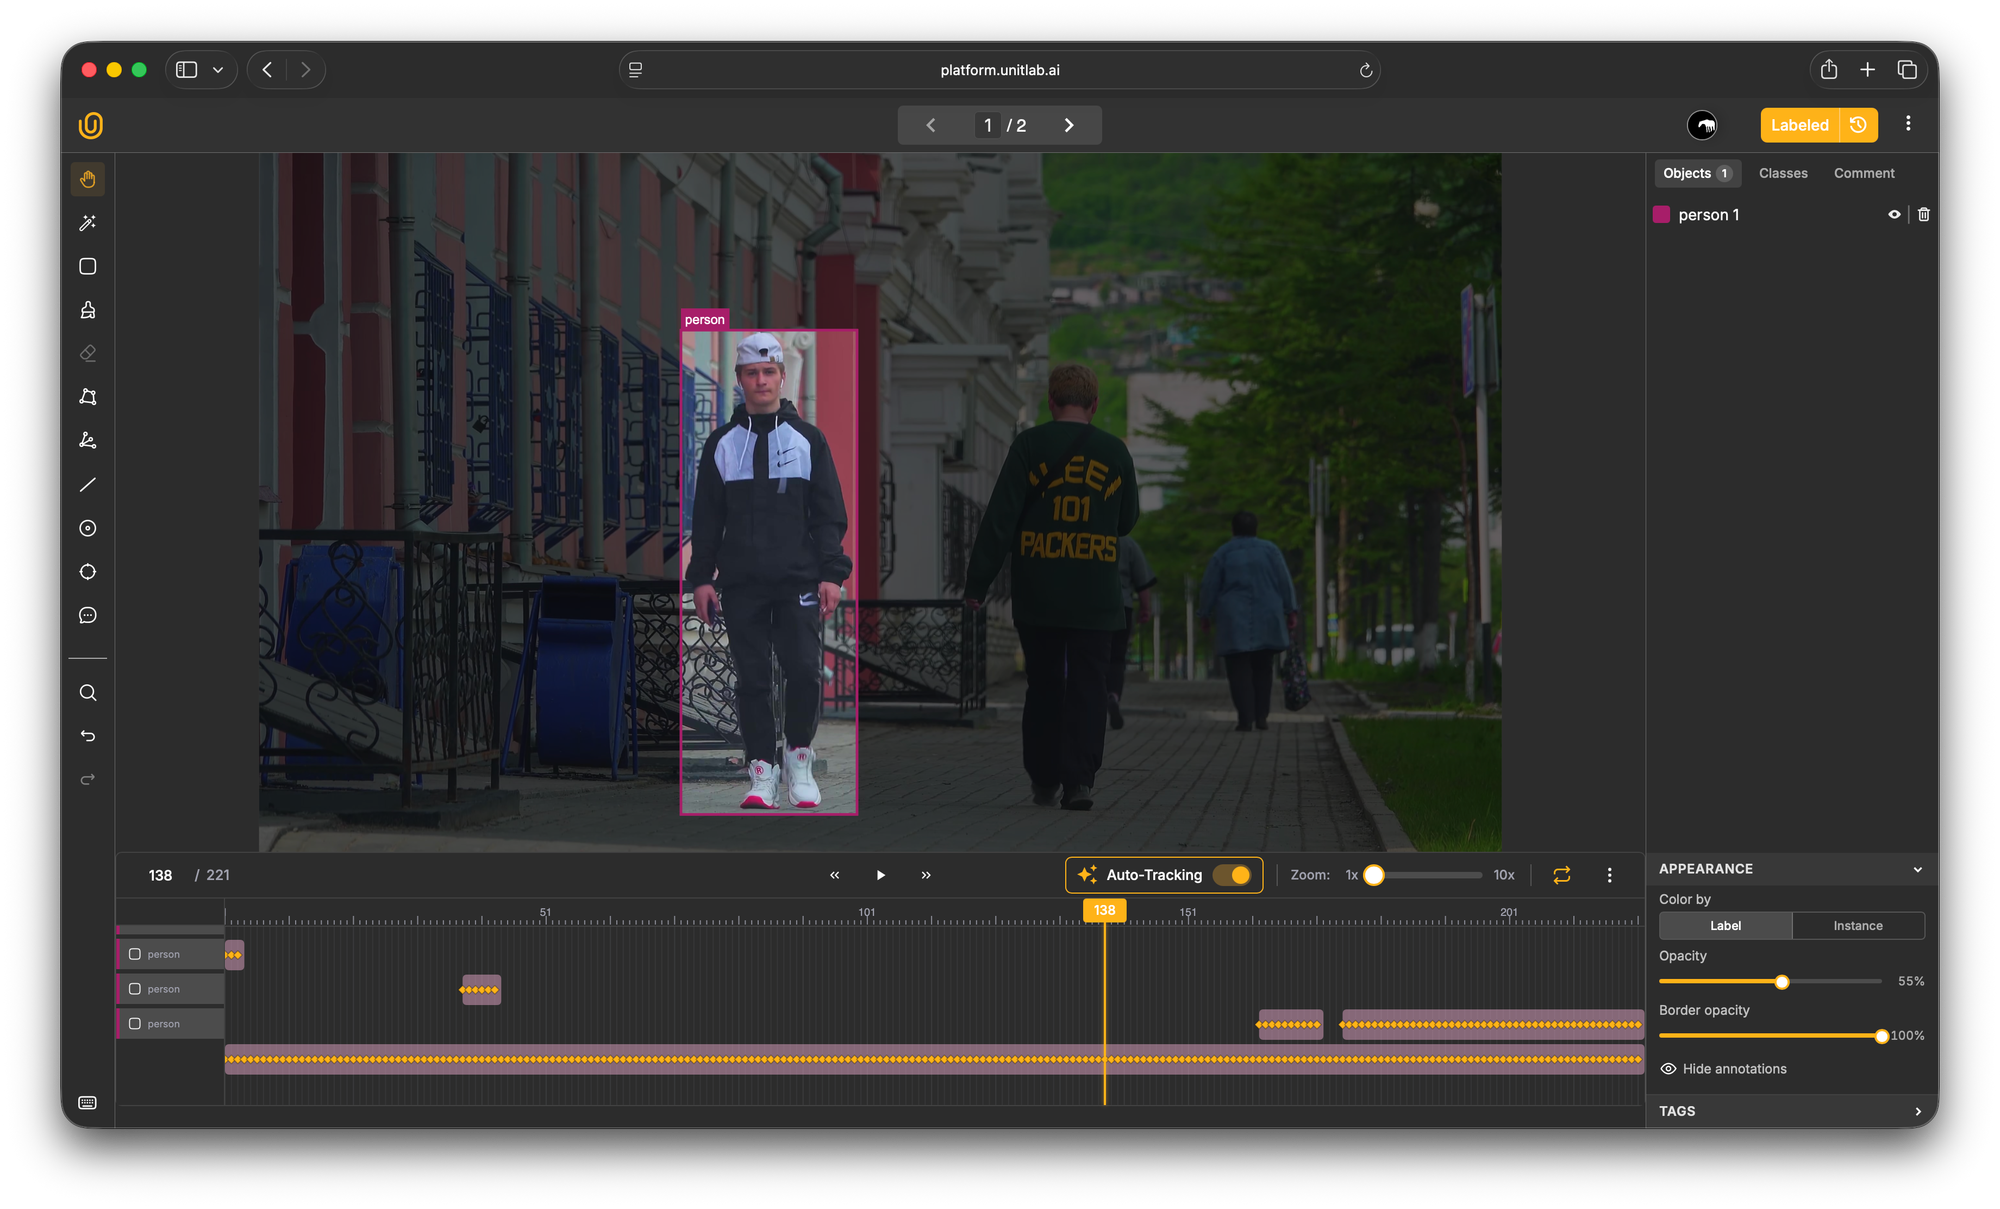
Once you've annotated an object in the initial frame, you can propagate that annotation across the video sequence. You can do that in two ways: either enable the Auto-Tracking option above the timeline (use it before annotating the object), or right-click the annotation on the timeline and select Tracking.

Unitlab's auto-tracking algorithm analyzes the object's visual appearance and motion, then automatically extends the annotation across subsequent frames.

After tracking completes, scrub through the timeline to review the results. In most cases, for objects with predictable motion, the auto-tracking will be highly accurate. When you spot errors, make corrections on specific frames. Every time you manually adjust an annotation, a new keyframe is created.
How to Annotate a Video with Bounding Boxes and Keypoint Skeletons
While auto-annotating videos is extremely useful for many computer vision applications, some AI models rely on simpler annotation types like bounding boxes or keypoint skeletons. These annotation methods are faster to create and sufficient for tasks like object detection or pose estimation.
Let’s give Unitlab AI another try on a different video using a keypoint skeleton and a bounding box. The first part of the process is the same as before. You need to upload your source footage and set the frame rate.
Create new annotation classes and annotate the objects of interest in the video
For this example, we need to create two different types of annotation classes: a keypoint skeleton for human pose and a bounding box class for other objects.
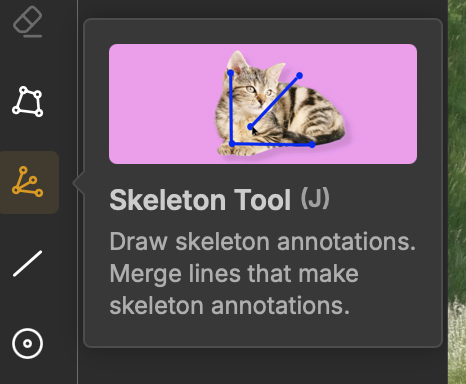
Creating a keypoint skeleton class
Select the Skeleton tool from the left toolbar. Click Add Class and choose Skeleton Tool as the annotation type.
Unitlab provides a skeleton editor let you create a human pose or any other pose skeleton.
Drag each keypoint marker to the correct position, place the shoulder markers at the shoulder joints, knee markers at the knees, and so on.
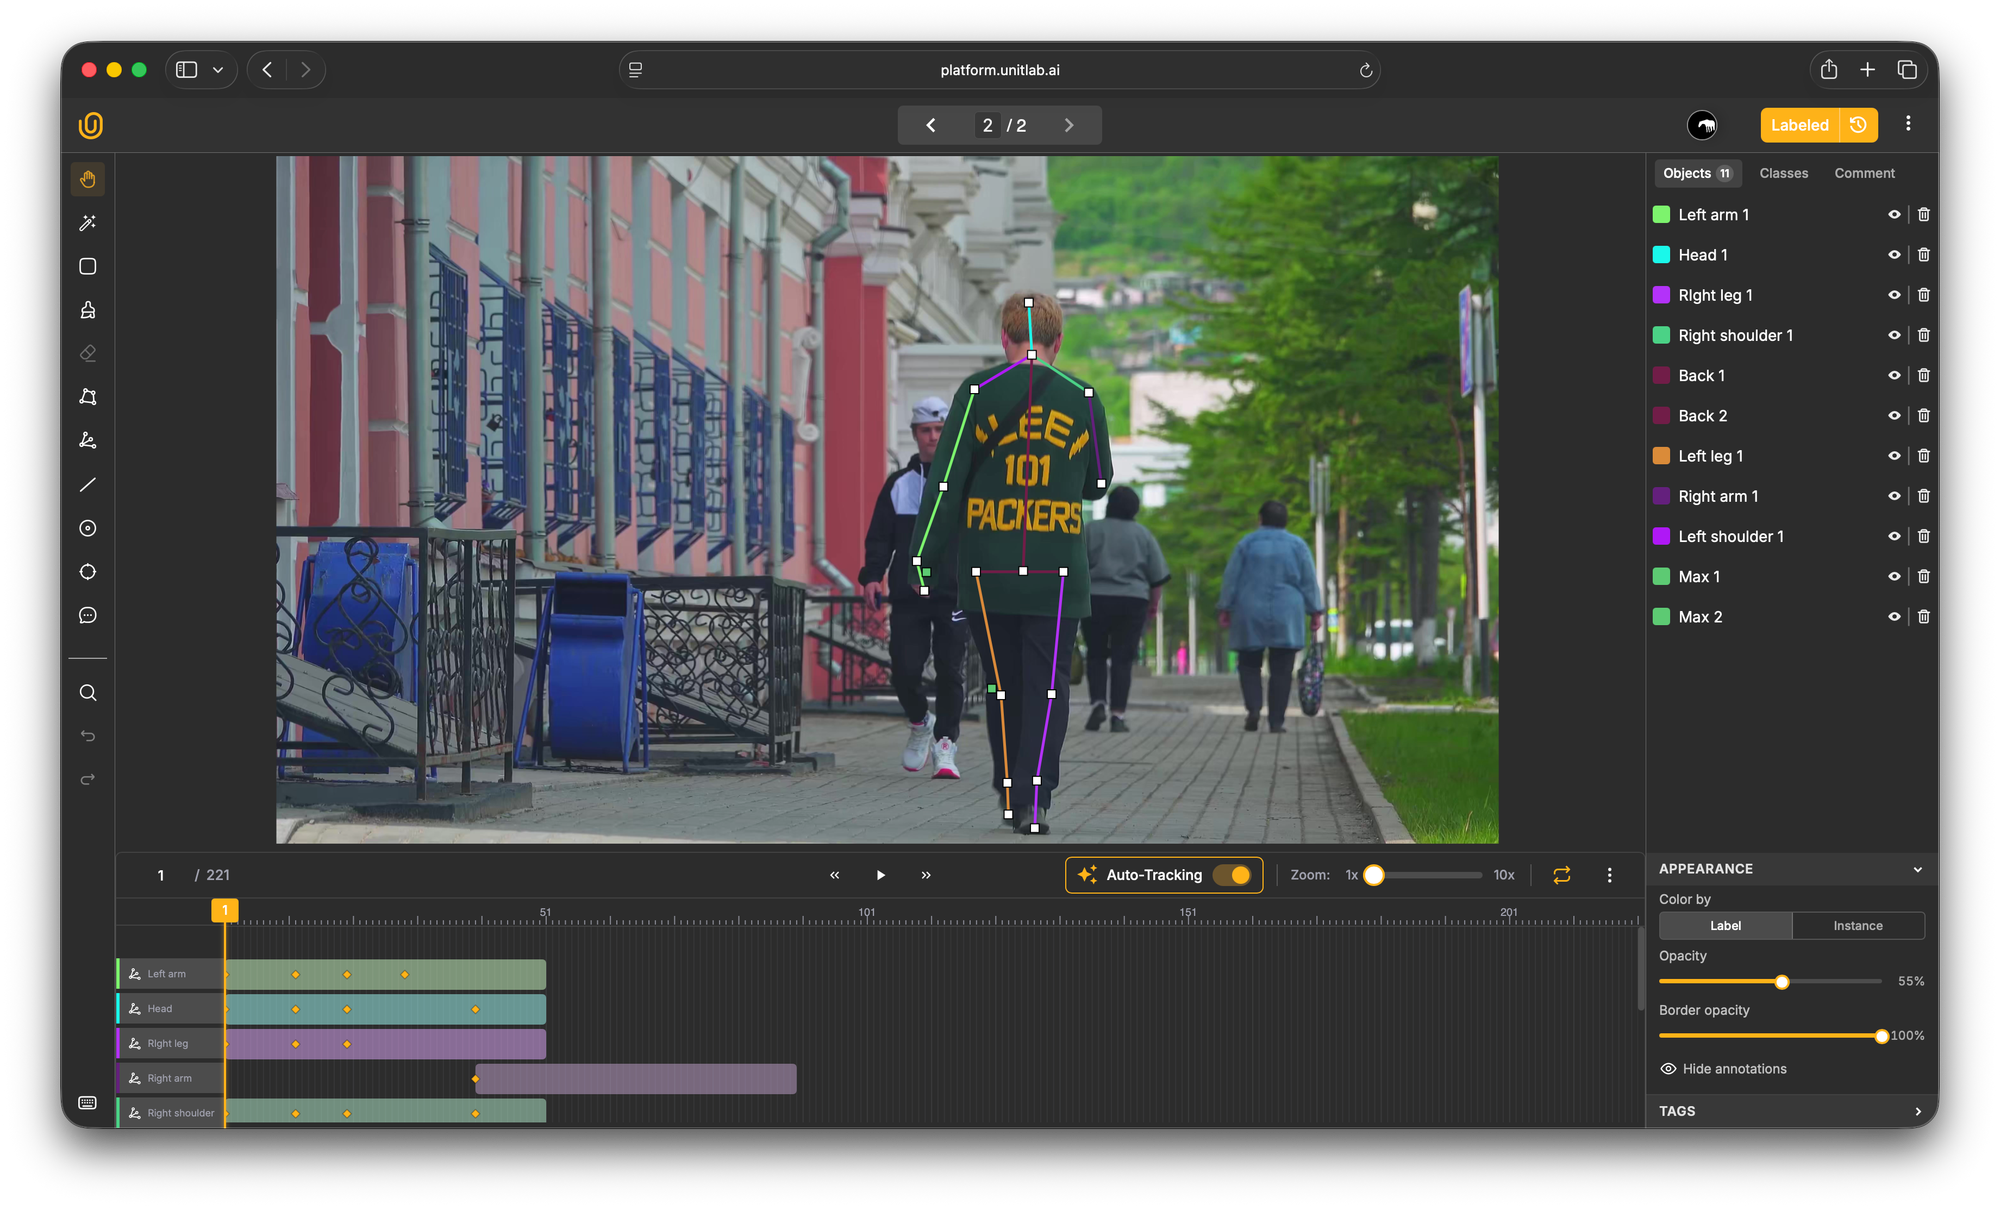
Once you are satisfied with your skeleton, save it as an annotation class.
Creating a bounding box class
For objects that don't require detailed segmentation or pose tracking, bounding boxes are the simplest and fastest annotation method.
Select the Bounding Box tool from the left toolbar and create a new class, for example, Person 1.
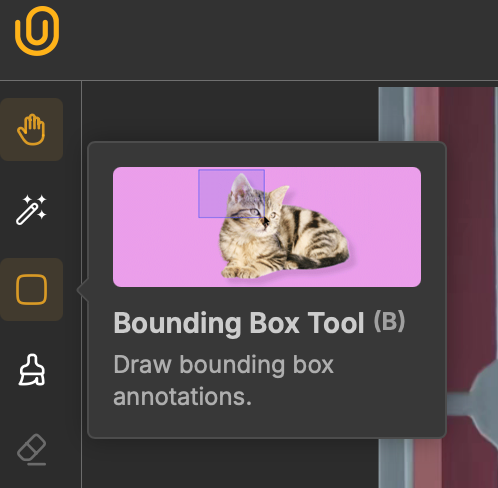
After selecting the bounding box tool, click and drag to draw a rectangular box around the object of interest.
The box should tightly fit the object boundaries without excessive empty space, but also without clipping any part of the object.
For a Person, position the bounding box so it fully encloses the person's structure but doesn't include large amounts of background.
Comparing Unitlab AI with Other Video Annotation Platforms
Many video annotation tools struggle as projects increase in size or complexity. Unitlab AI is built to manage production-level video data. Let's examine the features that make Unitlab AI better and enable it to outperform other tools.
Key Takeaways
Video annotation helps train computer vision models that understand motion, track objects, and interpret temporal patterns in visual data.
As datasets grow from thousands to millions of frames, and projects scale from prototypes to production systems.
Many video annotation tools struggle with large-scale data, offer limited automation, experience lag and performance degradation on long videos or dense annotations, and force teams to stitch together fragmented workflows across multiple platforms.
Unitlab AI addresses these limitations with its video annotation tool that delivers frame-accurate labeling, fully automated workflows powered by SAM3 and EfficientSAM.
It maintains smooth performance for large frame videos and provide consistent user experience without the lag or frame drops that plague other annotation tools.
By making automation the default approach and human review the quality gate, Unitlab enables computer vision teams to annotate video data faster, at higher quality, and at lower cost than manual annotation workflows.
References
- Video annotation: challenges and best practices - Toloka AI
- Video Annotation for Machine Learning: Everything You Need to Know - Shaip
- Understanding Video Annotation: A comprehensive guide - Mindkosh AI
- A Guide to Image Annotation Types [2026] - Unitlab Blogs - Unitlab AI
- Best video annotation tool for machine learning of actions? - ResearchGate
FAQs
Q1. What is meant by video annotation?
Video annotation is the process of labeling objects, actions, and events across video frames to create training data for computer vision models. It involves adding metadata such as bounding boxes, segmentation masks, keypoints, and temporal labels to raw footage.
Q2. What is an annotation in a video?
An annotation in a video is a label or marker that identifies specific objects, regions, or events within video frames. These annotations can include bounding boxes around objects, polygon outlines, keypoint skeletons for pose estimation, or classification tags that help machine learning models recognize patterns and behaviors.
Q3. How do I annotate videos?
To annotate a video, upload your video file to an annotation platform like Unitlab AI, set your desired frame rate, create annotation classes for the objects you want to label, use annotation tools like bounding boxes or auto-segmentation to mark objects in key frames, then apply tracking or interpolation to propagate labels across consecutive frames.
Q4. What are the 5 steps of annotation?
The annotation process generally follows a structured five-step lifecycle to ensure high quality and consistency:
- Project Setup and Data Ingestion: This involves uploading raw footage to the annotation platform and configuring the project parameters, such as frame rate extraction (e.g., extracting frames at 10fps vs. 30fps) and defining the label ontology.
- Guideline Definition: Establishing clear annotation guidelines is crucial. This defines how to handle edge cases, such as occlusion (when an object is blocked) or motion blur, ensuring all annotators label specific objects consistently.
- Annotation and Tracking: The core execution phase where annotators use tools to annotate a video. They apply bounding boxes or masks and use object tracking features to propagate these labels across multiple frames.
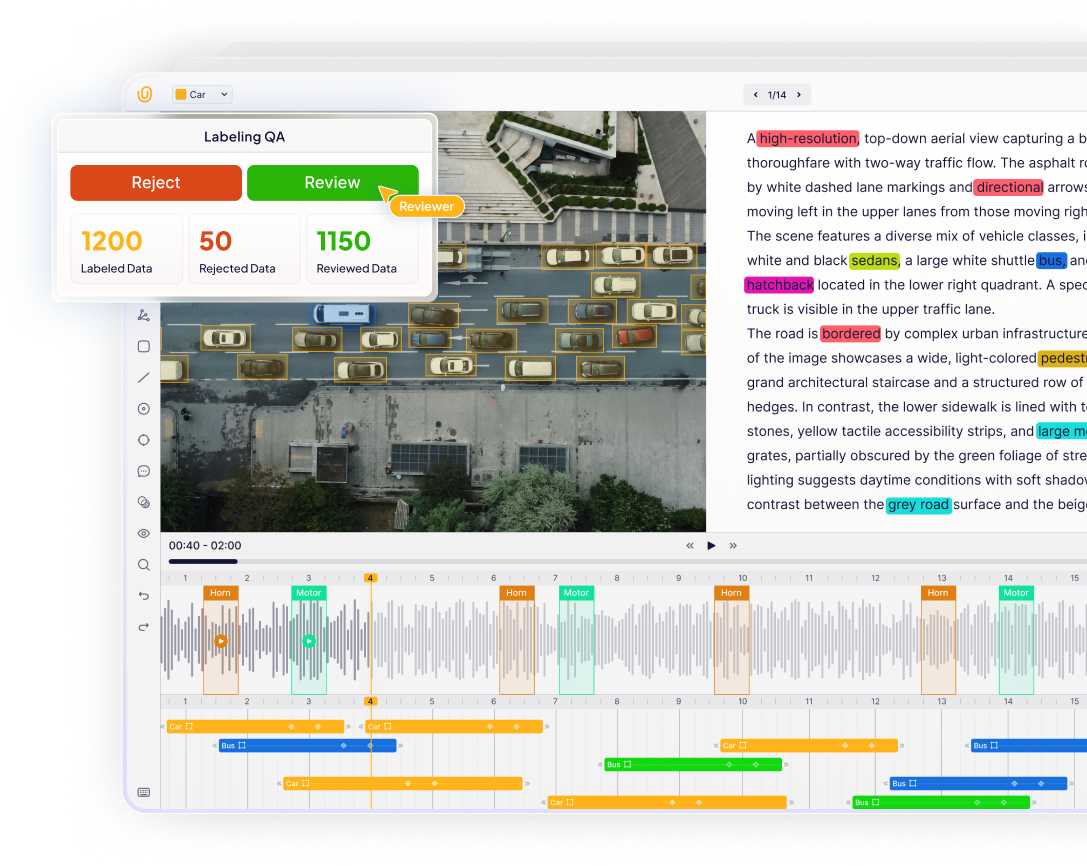
- Quality Assurance (QA): A review phase where senior annotators or automated scripts check for errors, such as loose bounding boxes or ID switches (where "Car A" becomes "Car B"), to ensure high quality video annotation.
- Export and Integration: The final annotated video data is exported in machine-readable formats (like COCO, YOLO, or JSON) and integrated into the computer vision system for model training.
Q5. Why is video annotation important for computer vision?
Video annotation provides temporal context that single images cannot capture, enabling computer vision models to understand motion, track objects across frames, recognize actions and behaviors, and make predictions based on sequential visual data. This is essential for applications like autonomous driving, surveillance systems, and activity recognition.