In one of our posts, we wrote that choosing the right image annotation type for your image sets to train your computer vision projects is the foundational step from which all other decisions flow. We wrote a general guide with 10 types and have been focusing on each type one by one in our blog.
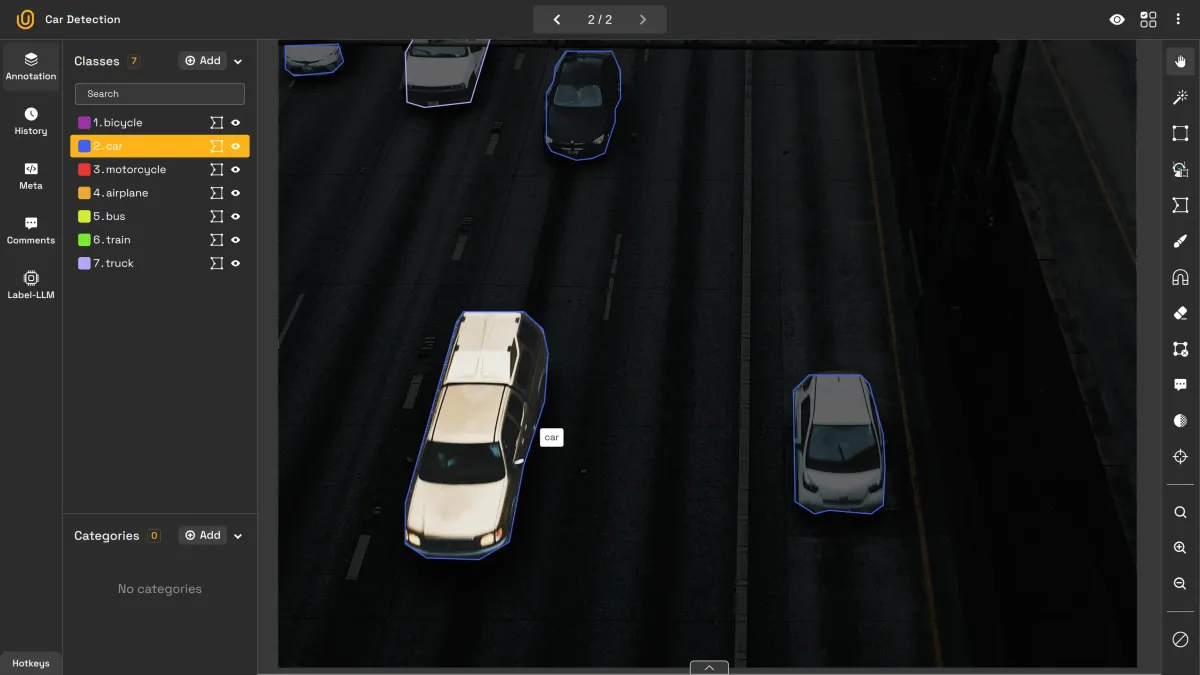
Image Annotation Types | Unitlab Annotate
There is no best/worst annotation type in image labeling; there is only one that gets the job done in high quality. Each annotation type is best suited to some cases. Image annotation with polygons is common, but, as we will see, you would want to try its extension, the polygon brush, to make your image labeling workflows faster and easier.
In this post, we are going to focus on polygon brush annotation, also known as brush instance segmentation. We are going to see what the polygon brush actually is, how it differs from the traditional polygon, benefits, and the demo project to improve your understanding and give you an overview of what it is like to use this tool to label your image sets.
What is Polygon Brush
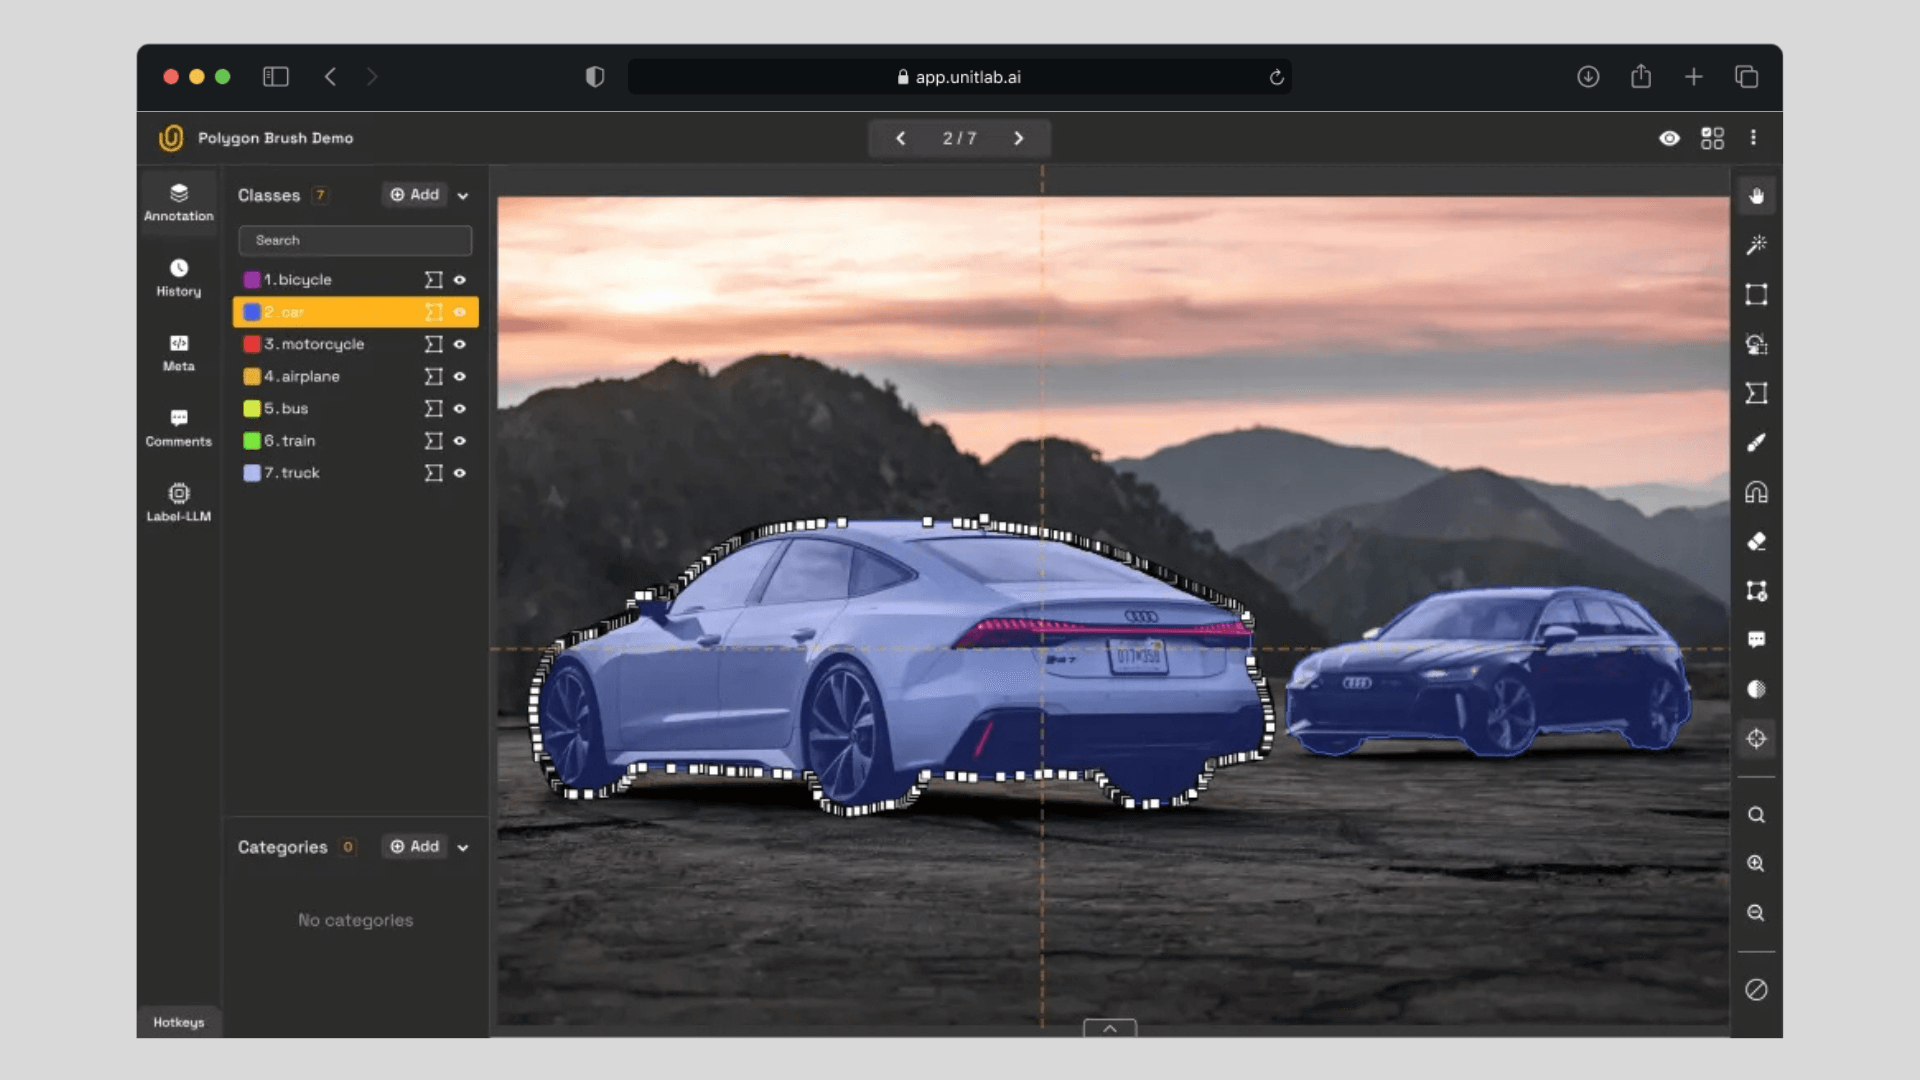
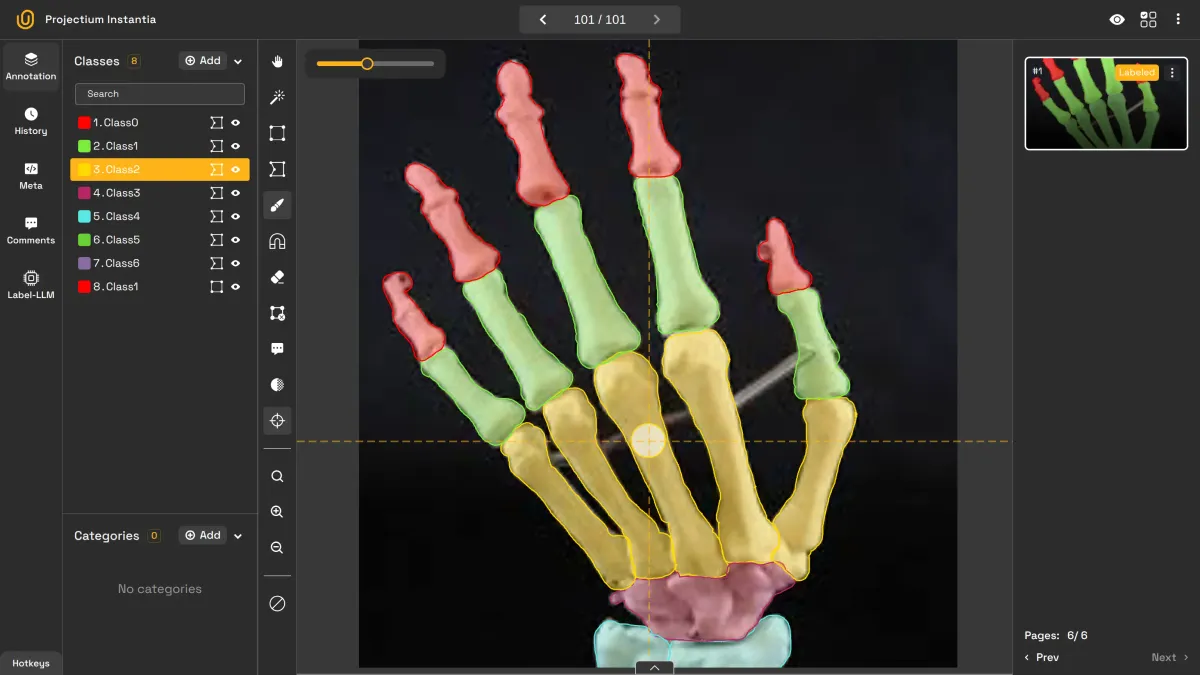
Polygon brush annotation is a method that uses the intersection of polygons and pixel-perfect segmentation for faster and more accurate image labeling, as many good things that use the intersection of two methods. It is polygon under the hood; it uses coordinates rather than pixels to mark an object of interest, but instead with a brush/freeform drawing tool as used in pixel-perfect image annotation:
Polygon Brush Demo | Unitlab Annotate
Instead of manually outlining the object, with the polygon brush it is possible to draw over the object, which proves to be more comfortable, faster, and more accurate. However, the resulting anntation is the same as the traditional polygon: they both outline the edges of the object with coordinates.
In essence, it is the intersection of polygons and brushes, which is usually seen as an extension of polygon labeling.
Polygon vs. Polygon Brush
Both polygons and polygon brushes work the same under the hood, so what is the difference? Using brushes as used in pixel-perfect labeling enables humans to outline irregular objects with outstanding precision with ease. Let's see how the polygon brush differs from the traditional polygon.
Polygon Annotation
Polygon annotation involves placing key points (or vertices) around the edges of an object to form a closed shape, which shows the coordinates of the enclosed object. This approach is generally used for geometrically simple objects with well-defined shapes. Polygon annotation for irregular objects, or objects with ambiguous shapes, is considered inefficient and slightly inaccurate.
Polygon Annotation for Regular Objects | Unitlab Annotate
Polygon Brush Annotation
As an extension of polygon annotation, polygon brush annotation solves the labeling of irregular objects by using a brush tool to trace the object’s boundary. Instead of pinpointing the edges, it draws over the object. The result is the same as if you would pinpoint the coordinates of the edges of an object, but it is much more precise and accurate.
It is especially useful for the objects with irregular shapes or other objects blocking, as shown in the demo:
Polygon Brush Segmentation | Unitlab Annotate
Benefits
Because it uses components of both pixel-perfect and polygon segmentation, it has several advantages over the traditional polygon, especially for detailed labeling of irregular objects:
- Precision: Ideal for annotating objects with irregular boundaries, such as tumors in medical images or architectural datasets.
- Efficiency: Image annotators work faster using a freehand brush tool compared to manually placing and adjusting vertices. It is possible to adjust the polygons using the brush, instead of manually moving points.
- Accuracy: Because of the high precision polygon brush labeling provides, your computer vision models can be trained with high-quality image sets, which ensures accurate AI/ML models, also known as garbage in, garbage out.
- Practicality: Because the polygon brush is an extension of the traditional polygon, it can be alternatively used for many industries, such as healthcare, autonomous vehicles, and inventory management.
Demo Project
We advocate for the 3-step hybrid approach to image labeling, where AI-powered tools annotate the image, a human corrects mistakes in the annotation, and an experienced human reviewer accepts/rejects the final image according to the existing guidelines.
Vision of Unitlab AI | Unitlab Annotate
To highlight this approach using the brush polygon tool, we are going to create a demo project with a simple use case: vehicle instance segmentation. You can create a free account at Unitlab AI to follow this tutorial:
Step 1: Set up Project
We first need to set up a project in order to upload data and start annotating. For this project, we are going to choose Image Instance Segmentation as our image annotation type and Vehicle Instance Segmentation as our AI model to auto-annotate images.
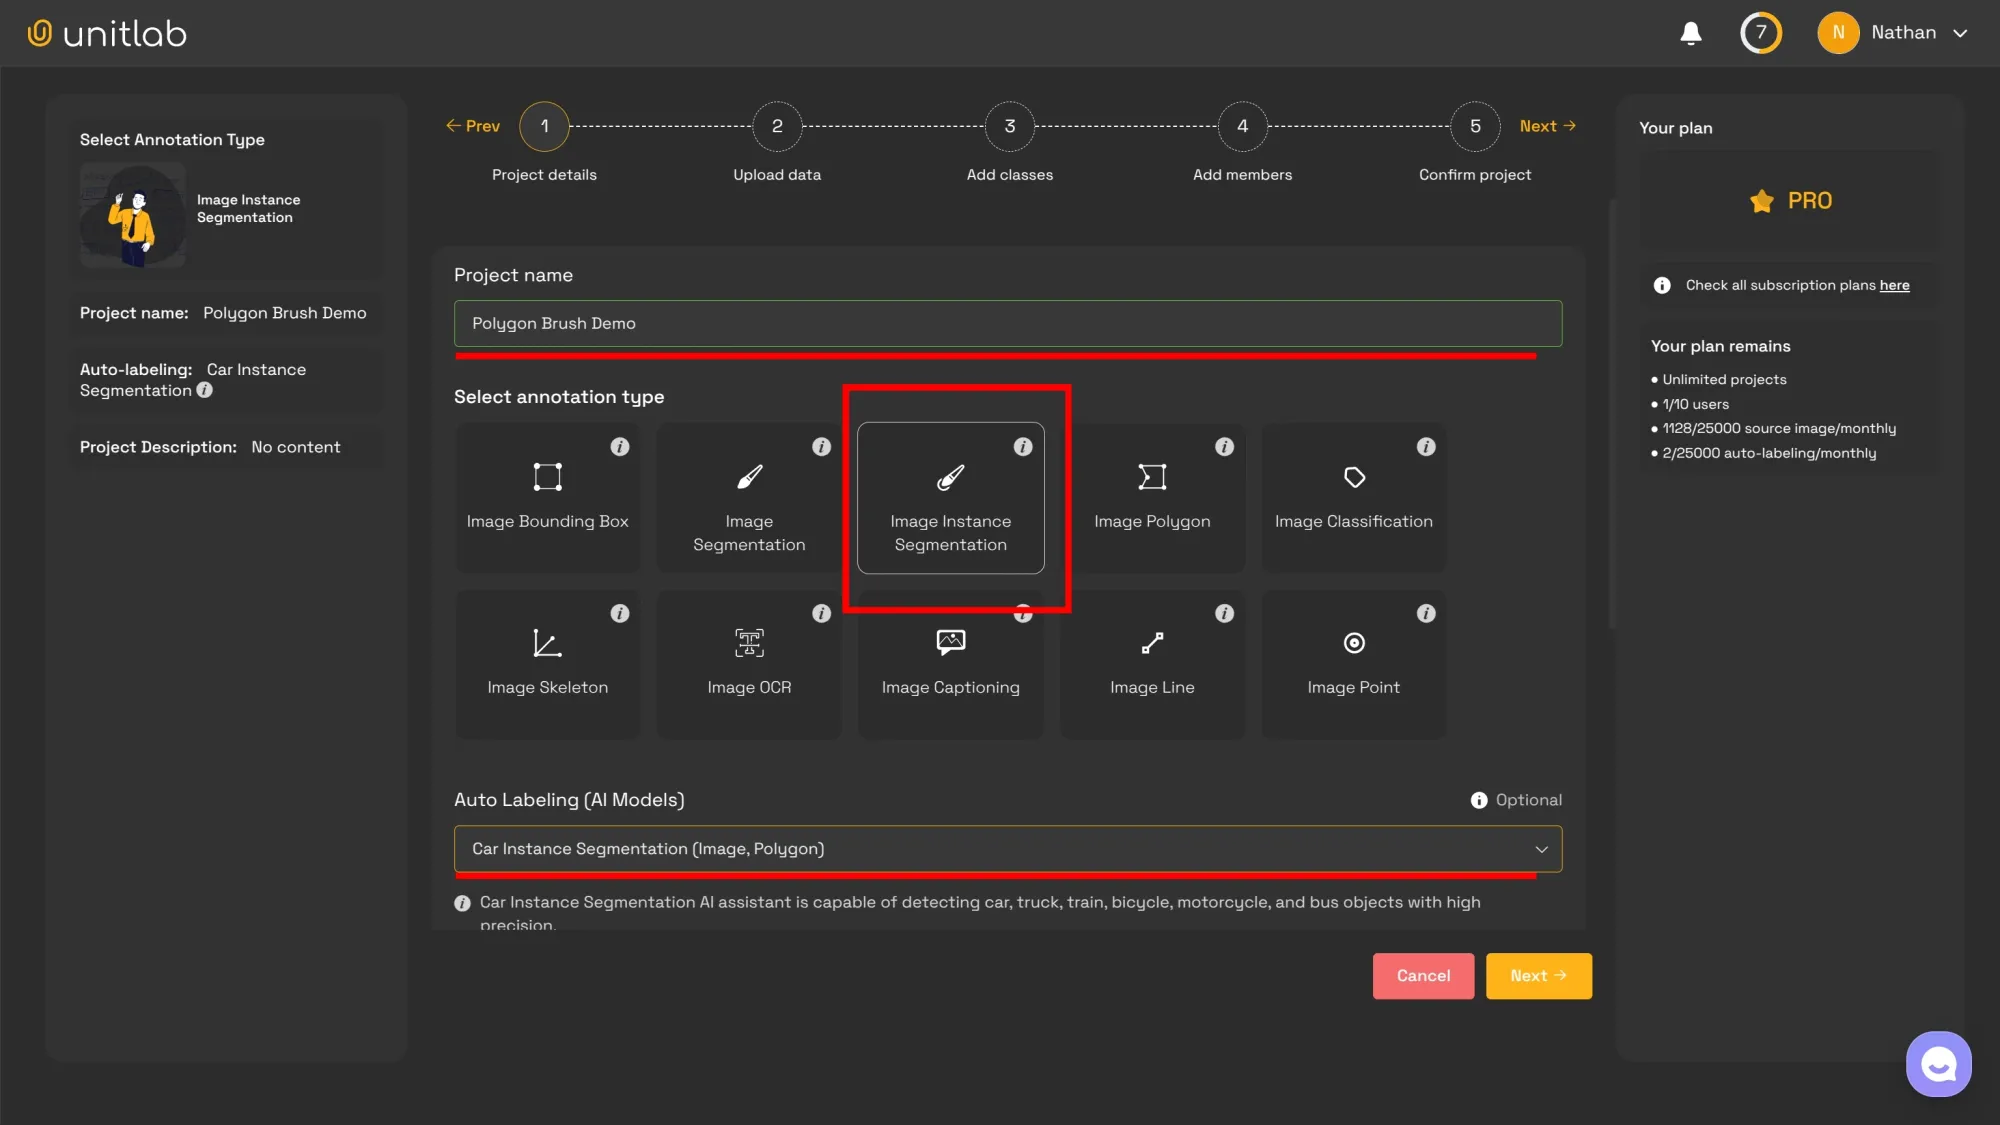
There are a couple of options you can choose from, as we highlighted in our in-depth post about the project creation within Unitlab Annotate.
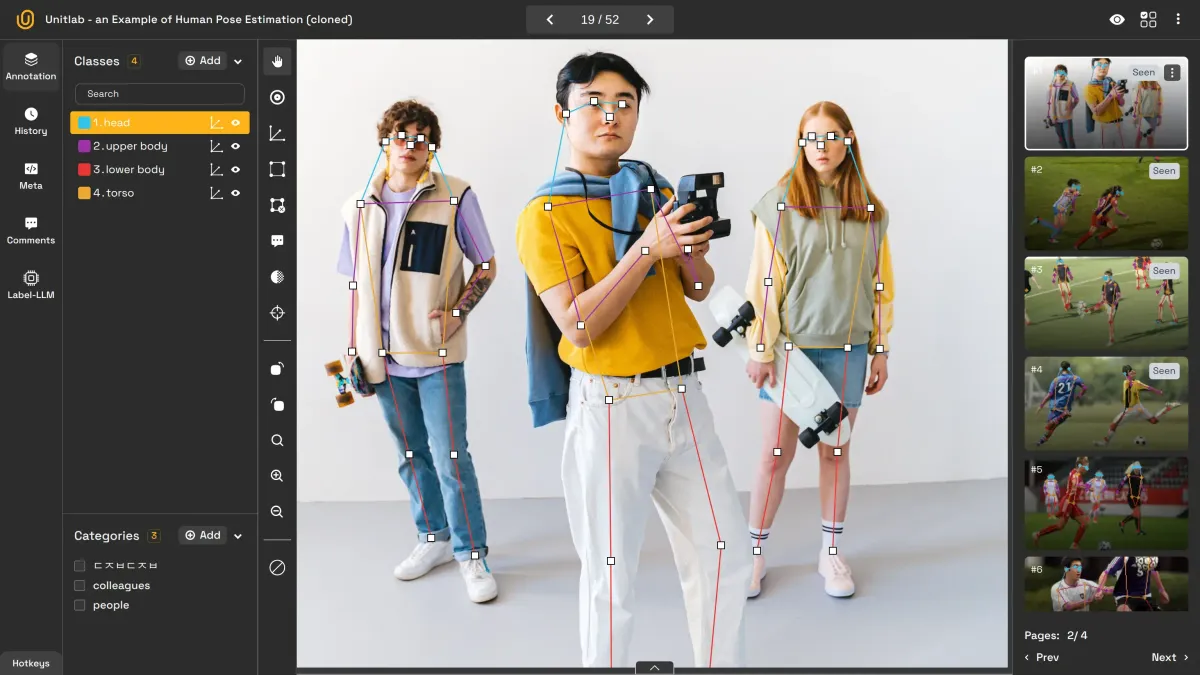
Project Creation | Unitlab Annotate
Step 2: Auto-annotate
Because we are using a built-in AI model out of the box, we can use it to annotate our vehicle image set in batches or one by one. Batch auto-annotation labels source images in a batch, while in the other method a human annotator uses the AI tools to auto-annotate parts of the image one by one. Alternatively, we can integrate it into the platform if we have one.
The point is to auto-annotate our source images using an AI model, be it a built-in, vendor-provided model, or your own custom model that is integrated into the vendor platform. It obviously depends on your use case, but most platforms should provide a way to integrate your bespoke AI models should needs arise.
For this project, because the number of images are low, we are going to use a Magic Touch tool, a SAM-powered tool that can detect objects. The human annotators can click the area they want to annotate and then correct any mistakes, which takes a fraction of what it would take a human if they labeled the image by themselves.
SAM-powered Magic Touch | Unitlab Annotate
Step 3: Fix mistakes
AI-powered auto-annotation tools, although quite powerful, are not by themselves enough to ensure high quality. A human annotator needs to check and fix any mistakes auto-annotation tools might have made.
This is the place where the polygon brush shines over the traditional polygon because of the Magnet Tool. You can use the brush to adjust the coordinates easily using the brush, instead of manually moving points.
Magnet Tool for Instance Segmentation with Polygons | Unitlab Tool
Step 4: Review
The final step is to ensure that the annotations are consistent and adhere to the standards. A seasoned human data annotator can review the final output, comment on them, and give a final say: accept or reject the labeled image.
Step 5: Dataset Release
Now your initial version of the dataset is ready. We released our project, which is accessible in the public datasets of Unitlab Annotate. Now, you can clone or download the dataset to play around with here.
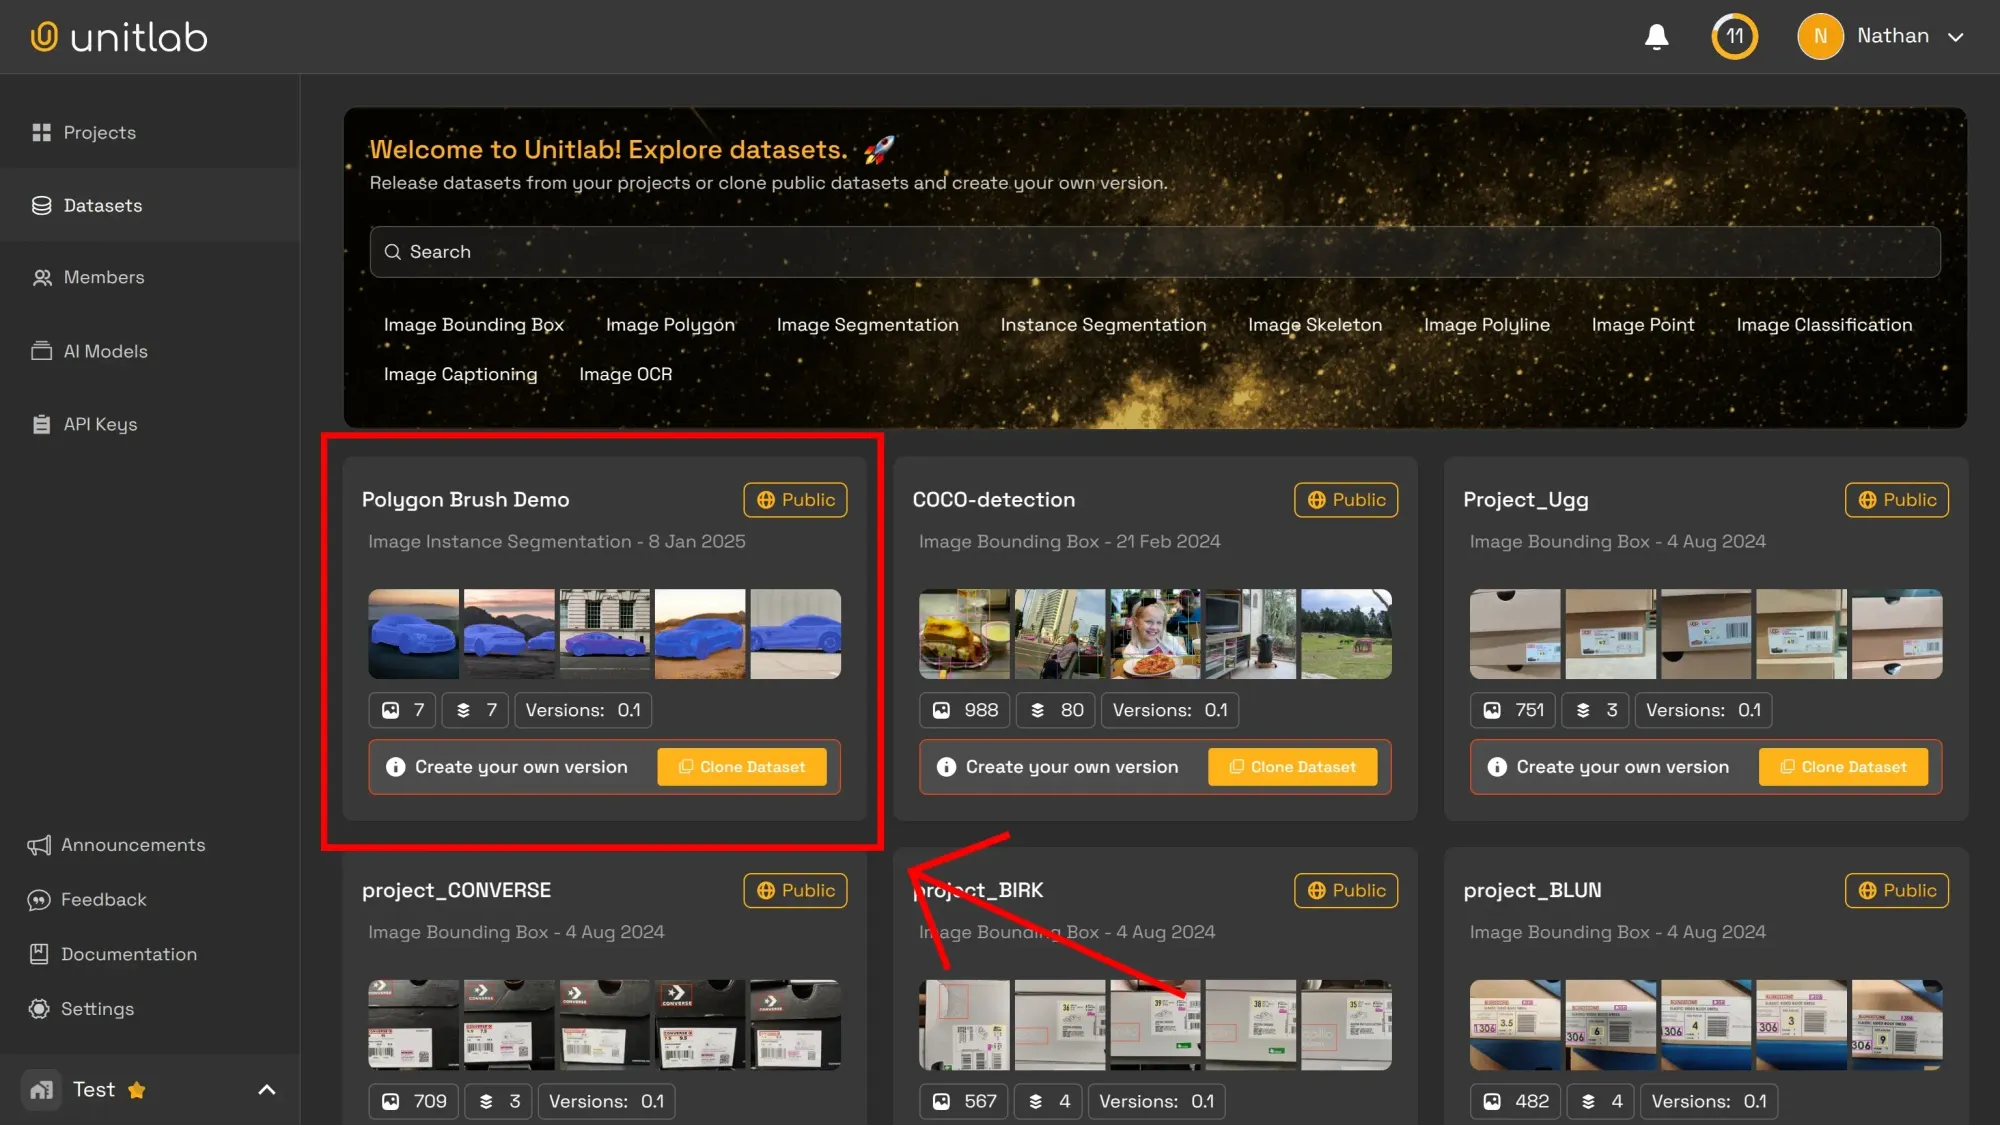
As you train your AI/ML models for computer vision, you need to feed more and more data to get better results. The usual way is to create a dataset with version control. For example, as you gather and annotate other source images, you can create another version of your dataset.
Quite literally, the dataset grows as your AI models grow. It serves as the historical, synchronized source of all the training images in your AI/ML development pipeline. Therefore, dataset management with version control has become the essential feature that every data annotation platform must provide.
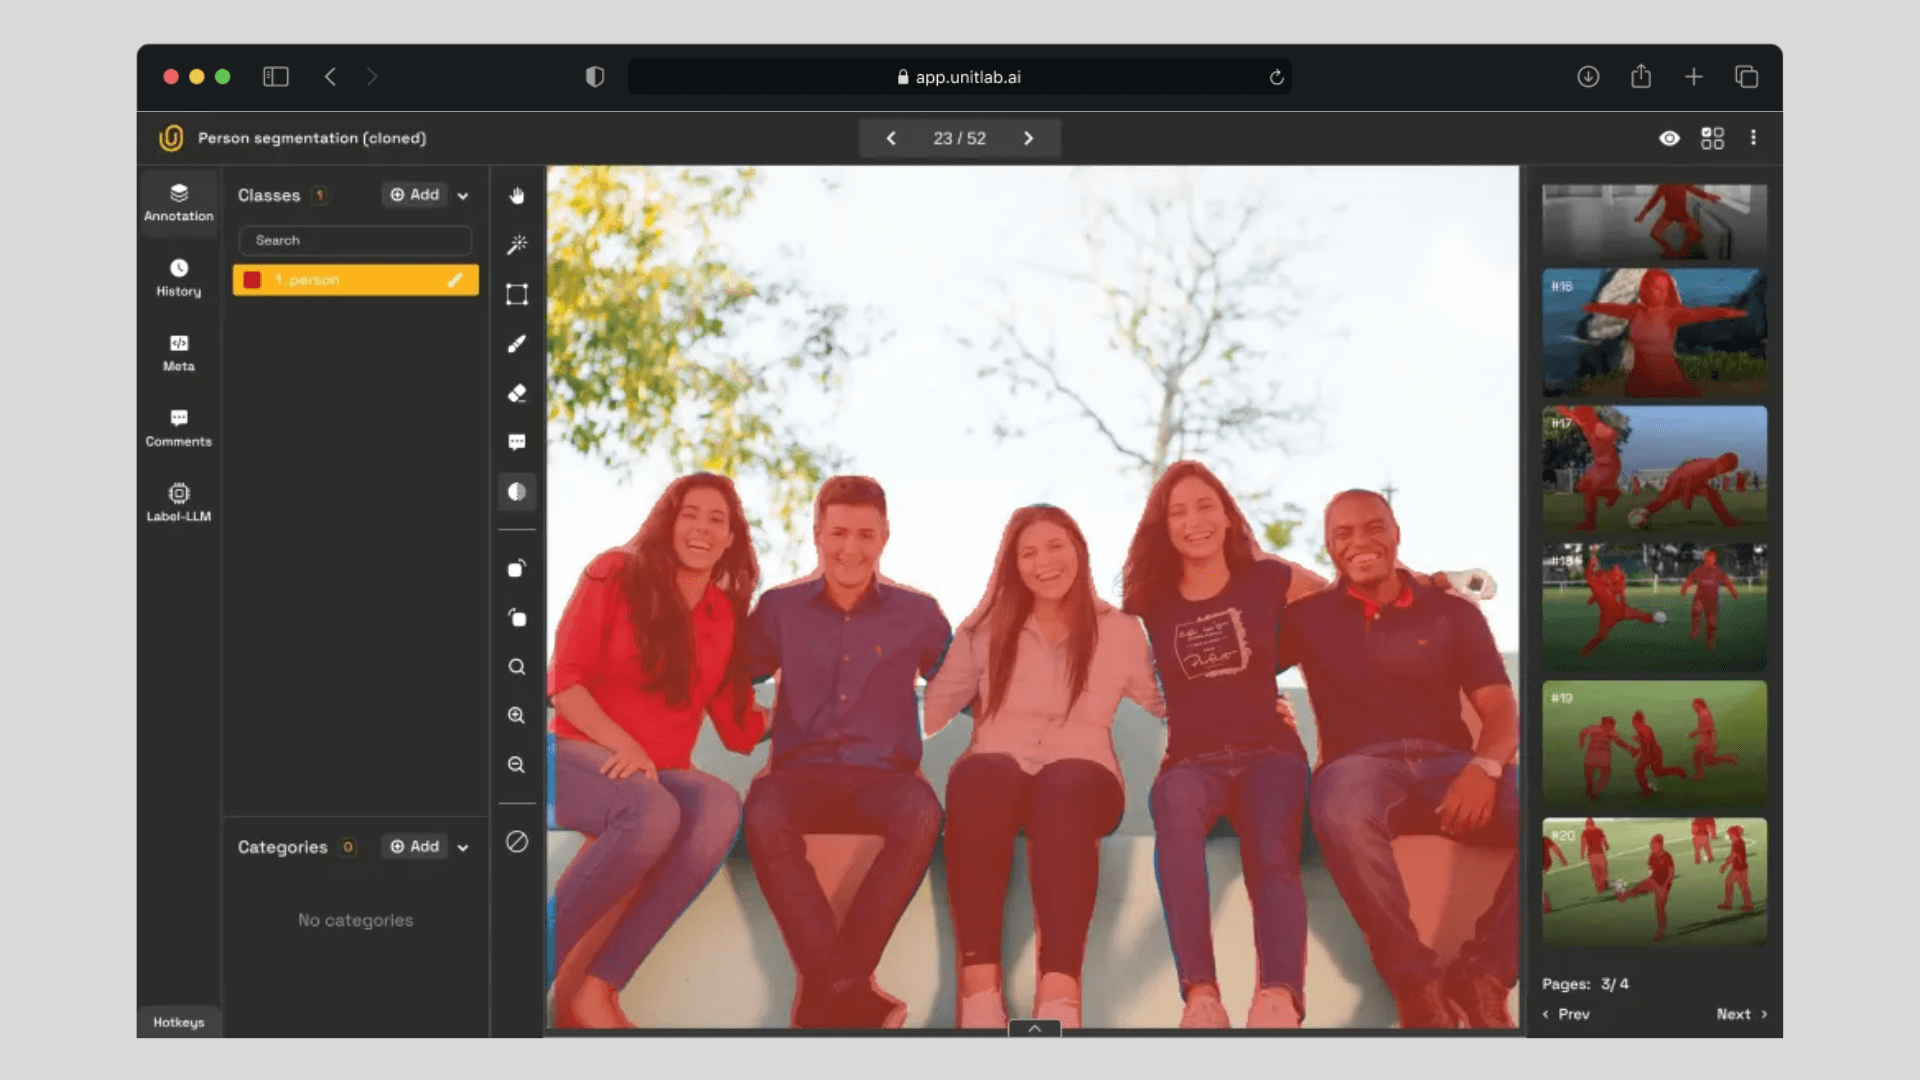
Dataset Management | Unitlab AI
Conclusion
Brush instance annotation is an extension of polygon annotation. It solves one important problem: it provides easy-to-use tools to label irregular objects with outstanding precision, similar to pixel-perfect segmentation.
To give you a feel of how it actually works, we provided the tutorial for you to follow along and play. We highly encourage you to experiment with different image annotation types to get a better overview of what works for your particular project.

