Note: This is a simplified, quick version of our project creation docs. For full information, refer to this page:
Setup a Project | Unitlab Documentation
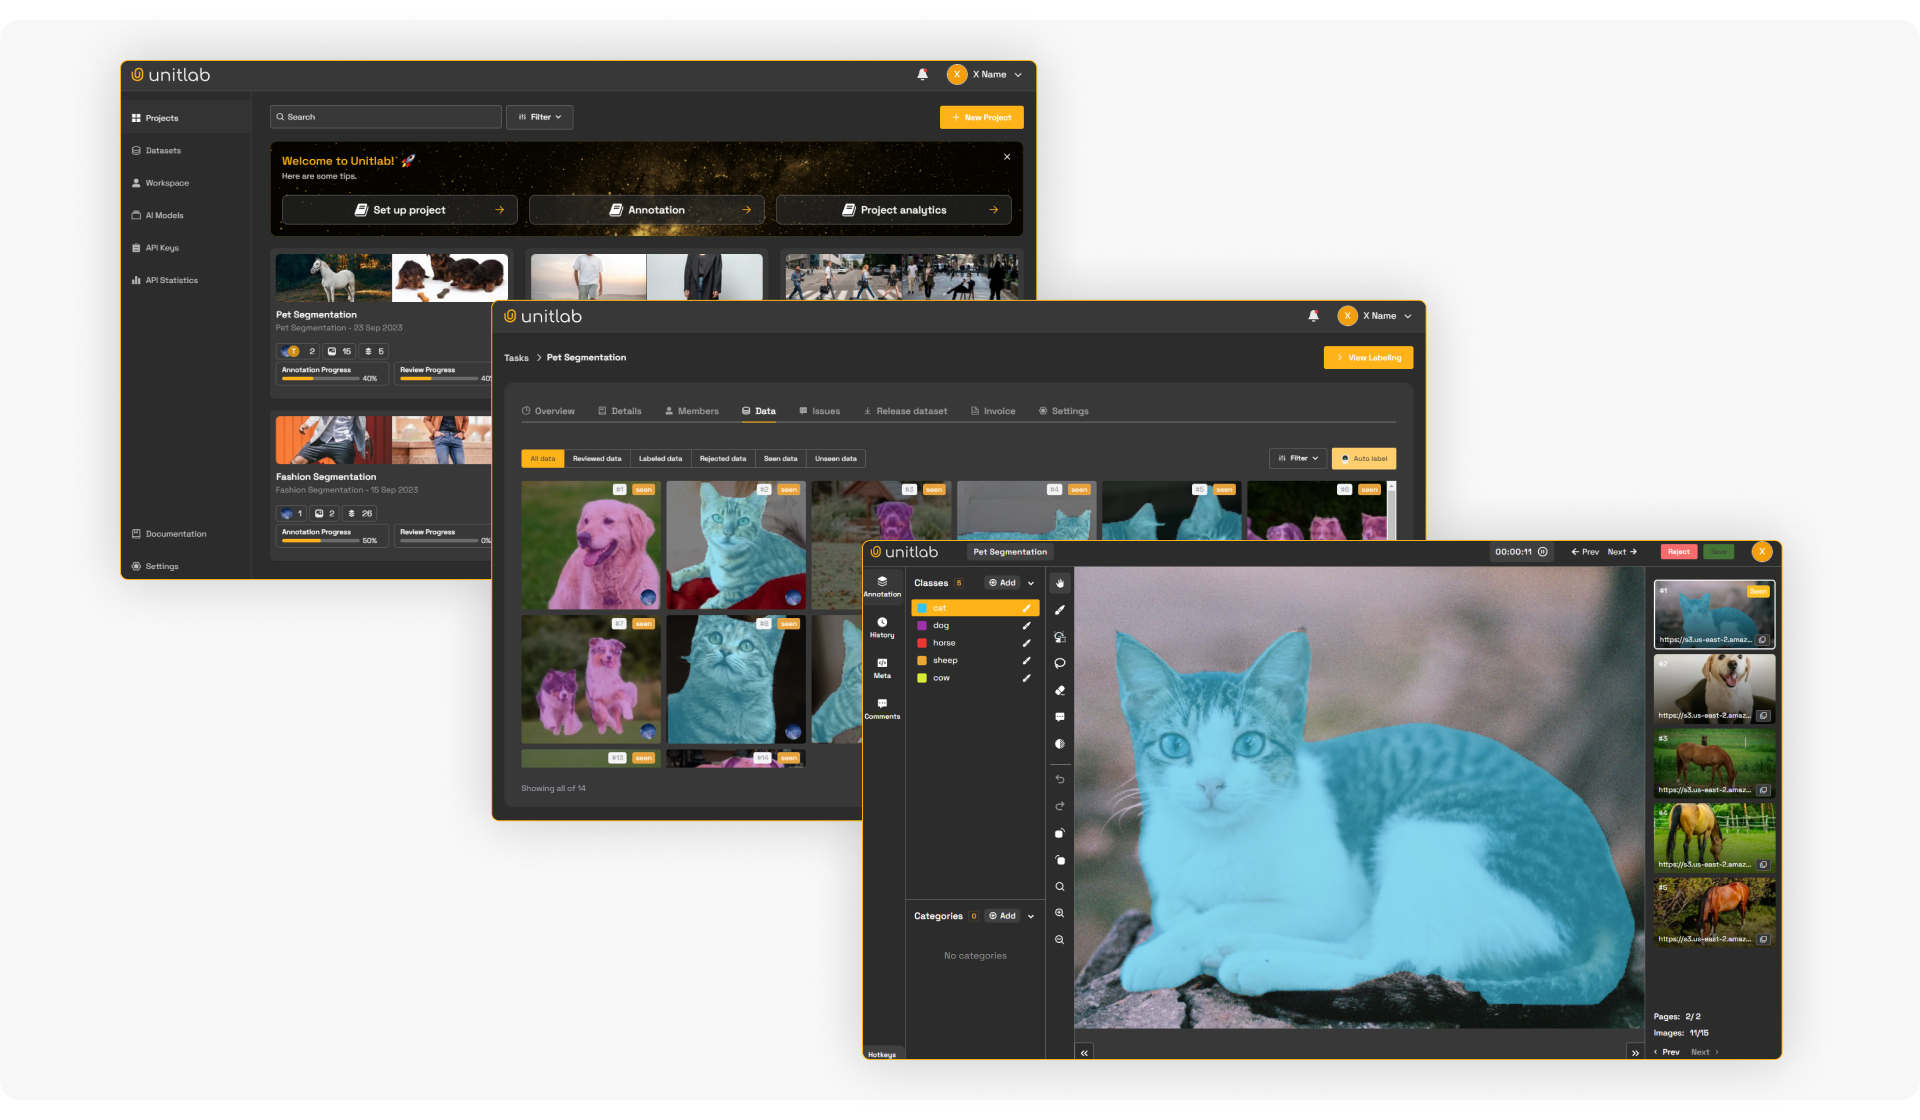
Unitlab Annotate centralizes dataset management by streamlining data ingestion, storage, and maintenance. It ensures datasets remain consistent and accessible, promoting collaboration and reproducibility. As a centralized platform, Unitlab Annotate allows image annotators to label and annotate images efficiently for your computer vision projects. This feature is linked to the project.
Datasets are created through projects and vice verca. You can clone a dataset into your project, or make a dataset out of your data annotation project. Image projects as a stand-alone task that your team members and data labelers work on. Datasets are the end result for your AI/ML computer vision modesl.
As you can imagine, projects are the entry point for creating datasets. Therefore, let’s walk through how to set up a project on Unitlab Annotate.
Setting up an account
Unitlab AI offers multiple pricing models: Free, Active, Pro, and Enterprise. Most of our data annotation services are available for free, with certain limitations. For real-life, enterprise projects, you are best served with paid plans.
For this tutorial, we’ll use the Free plan, which is ideal for individuals, hobbyists, and students to learn and practice data annotation. You can sign up for an account here.
Creating a project
After registration, in the project dashboard, we can create a new project, consisting of 4 short steps.
1. Project details
First, we provide a meaningful name for our project and select an image annotation type - this is crucial as tools in Unitlab Annotate adjust according to the image labeling type dynamically. Unitlab offers a variety of annotation types—refer to the blog for a detailed overview.
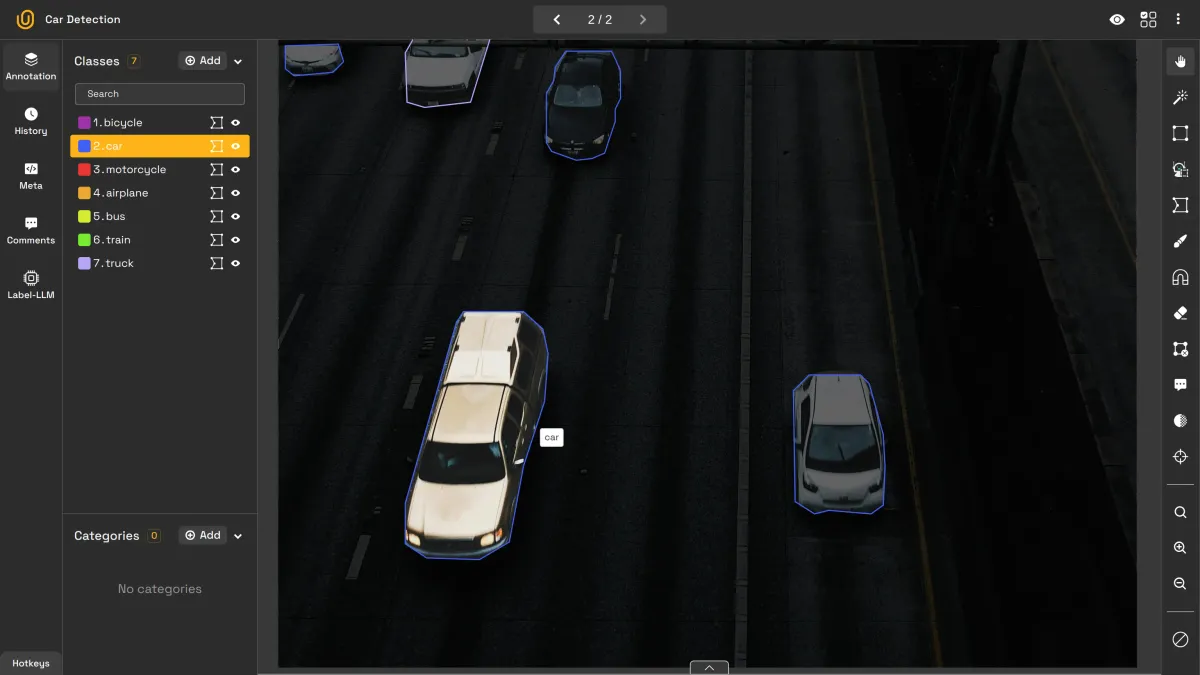
Image Annotation Types | Unitlab Annotate
We name our project Project Creation Tutorial and choose Image Bounding Box as our image annotation type. We can also choose (or integrate) an optional AI model in order to accelerate the data labeling process. For this project, we select a Vehicle Detection System that use bounding boxes to identify vehicles and their plates.
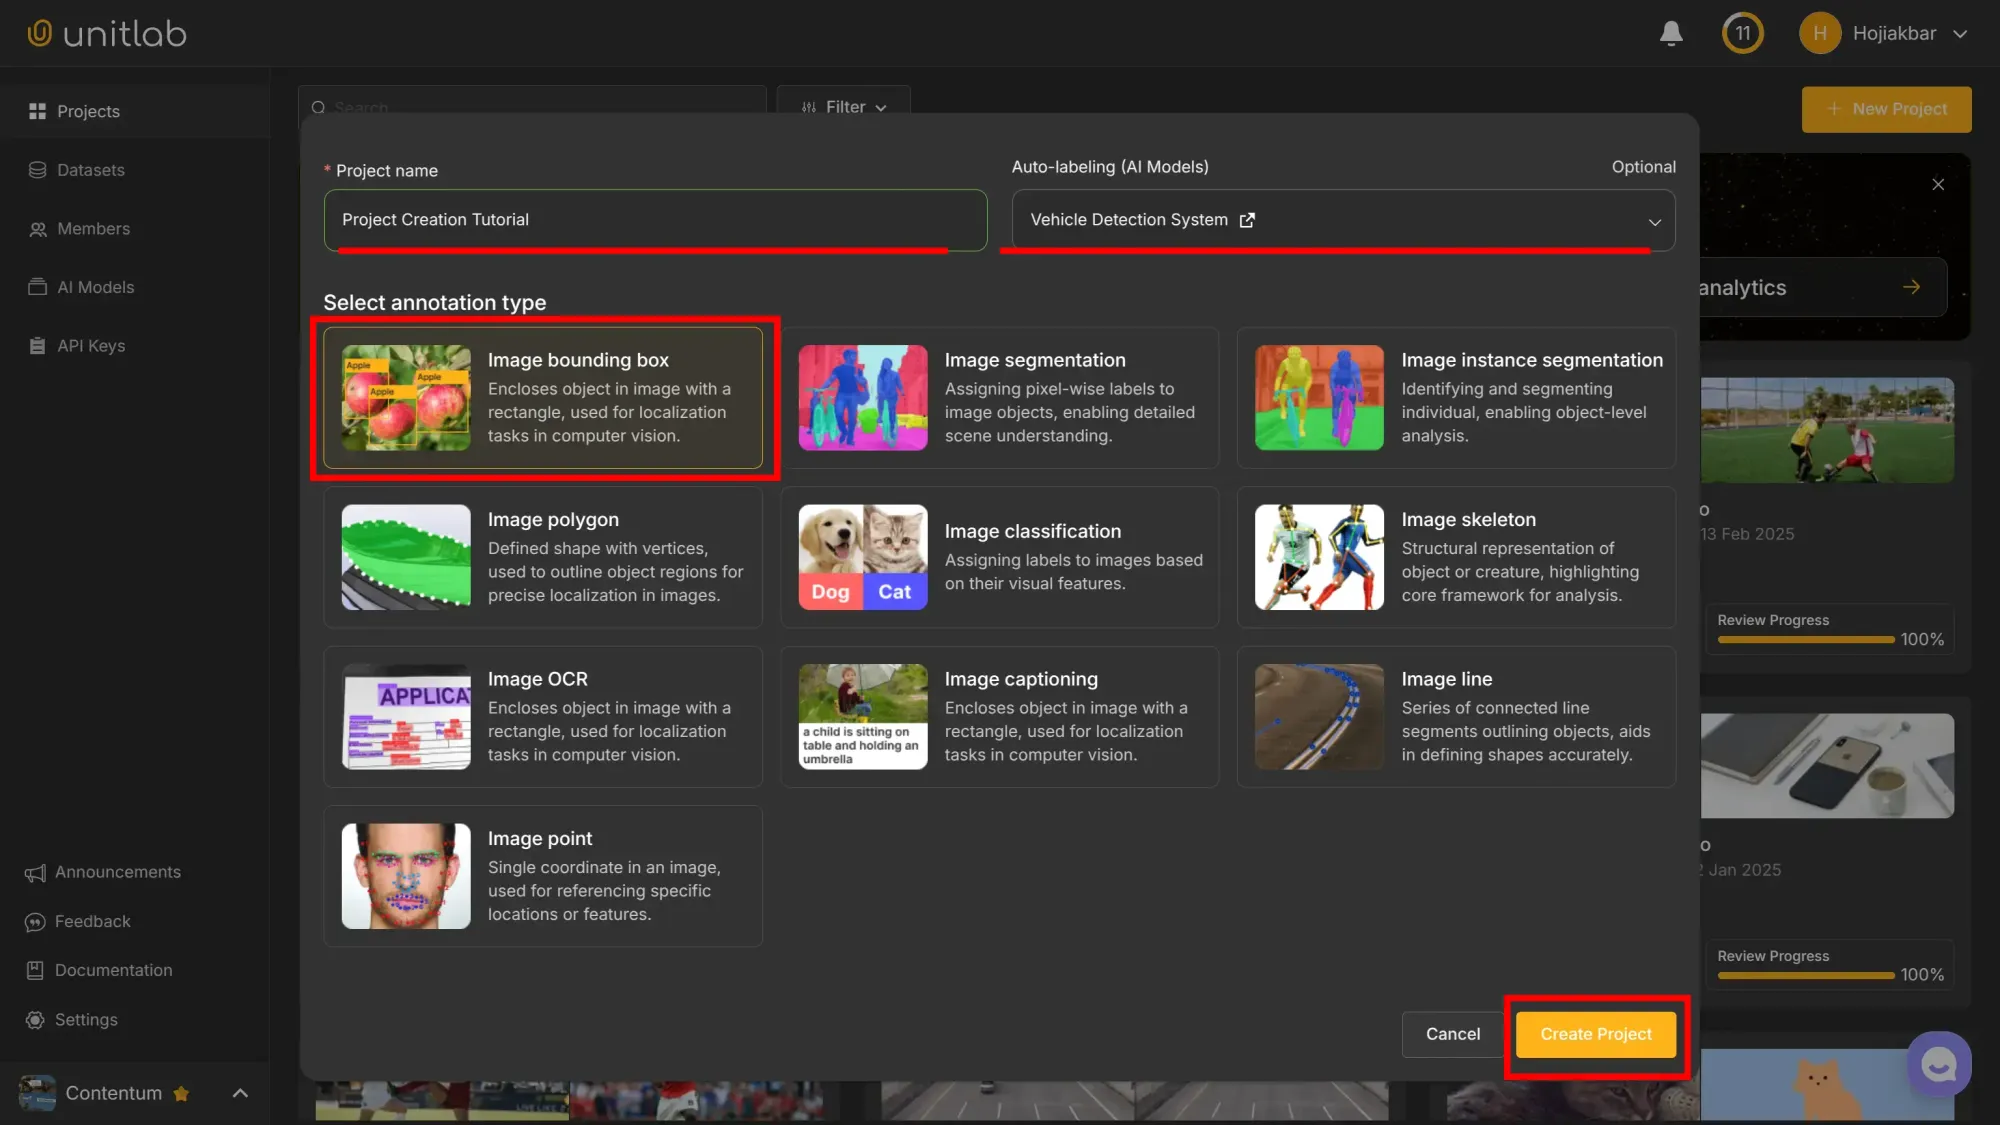
When you click Create Project, a project is created. Now, we can configure the project.
2. Upload data
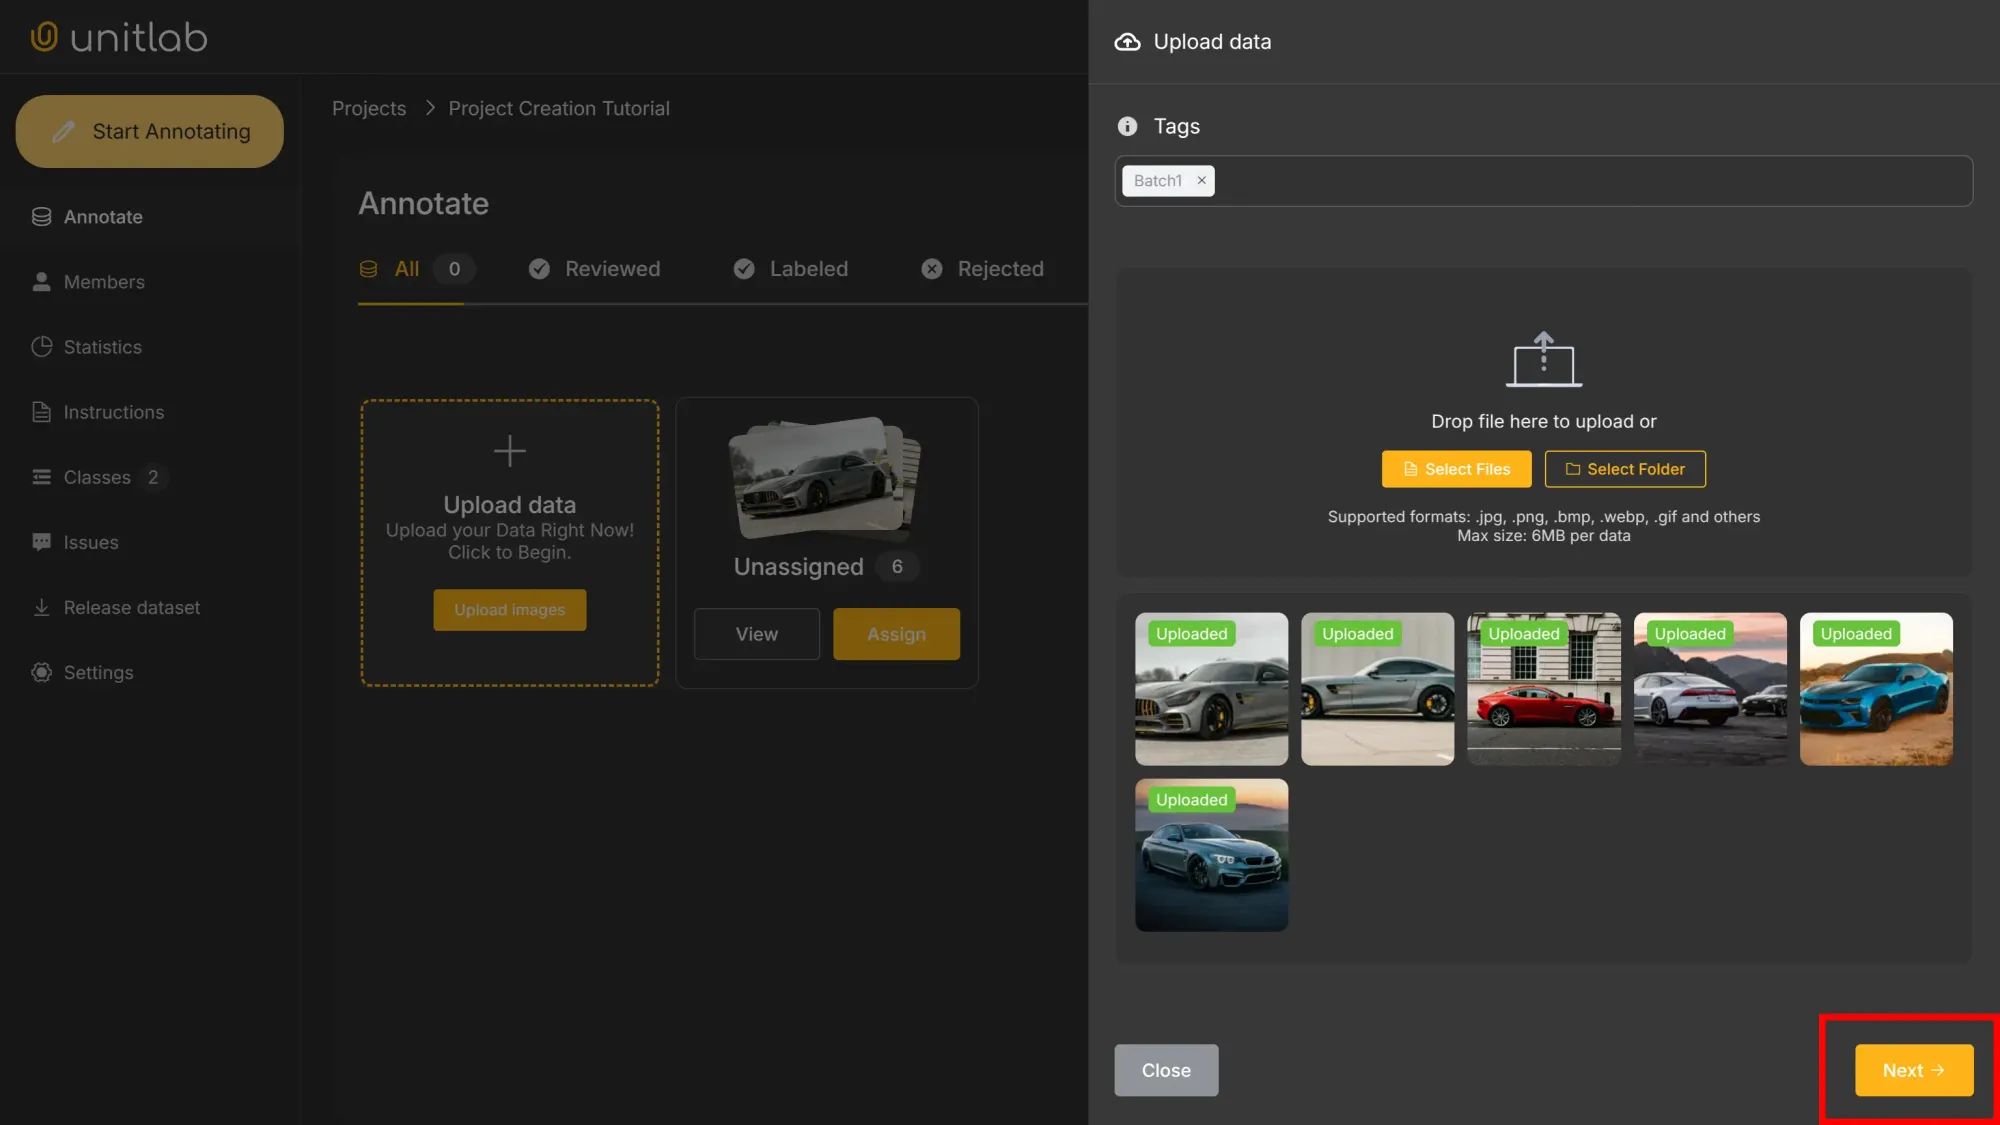
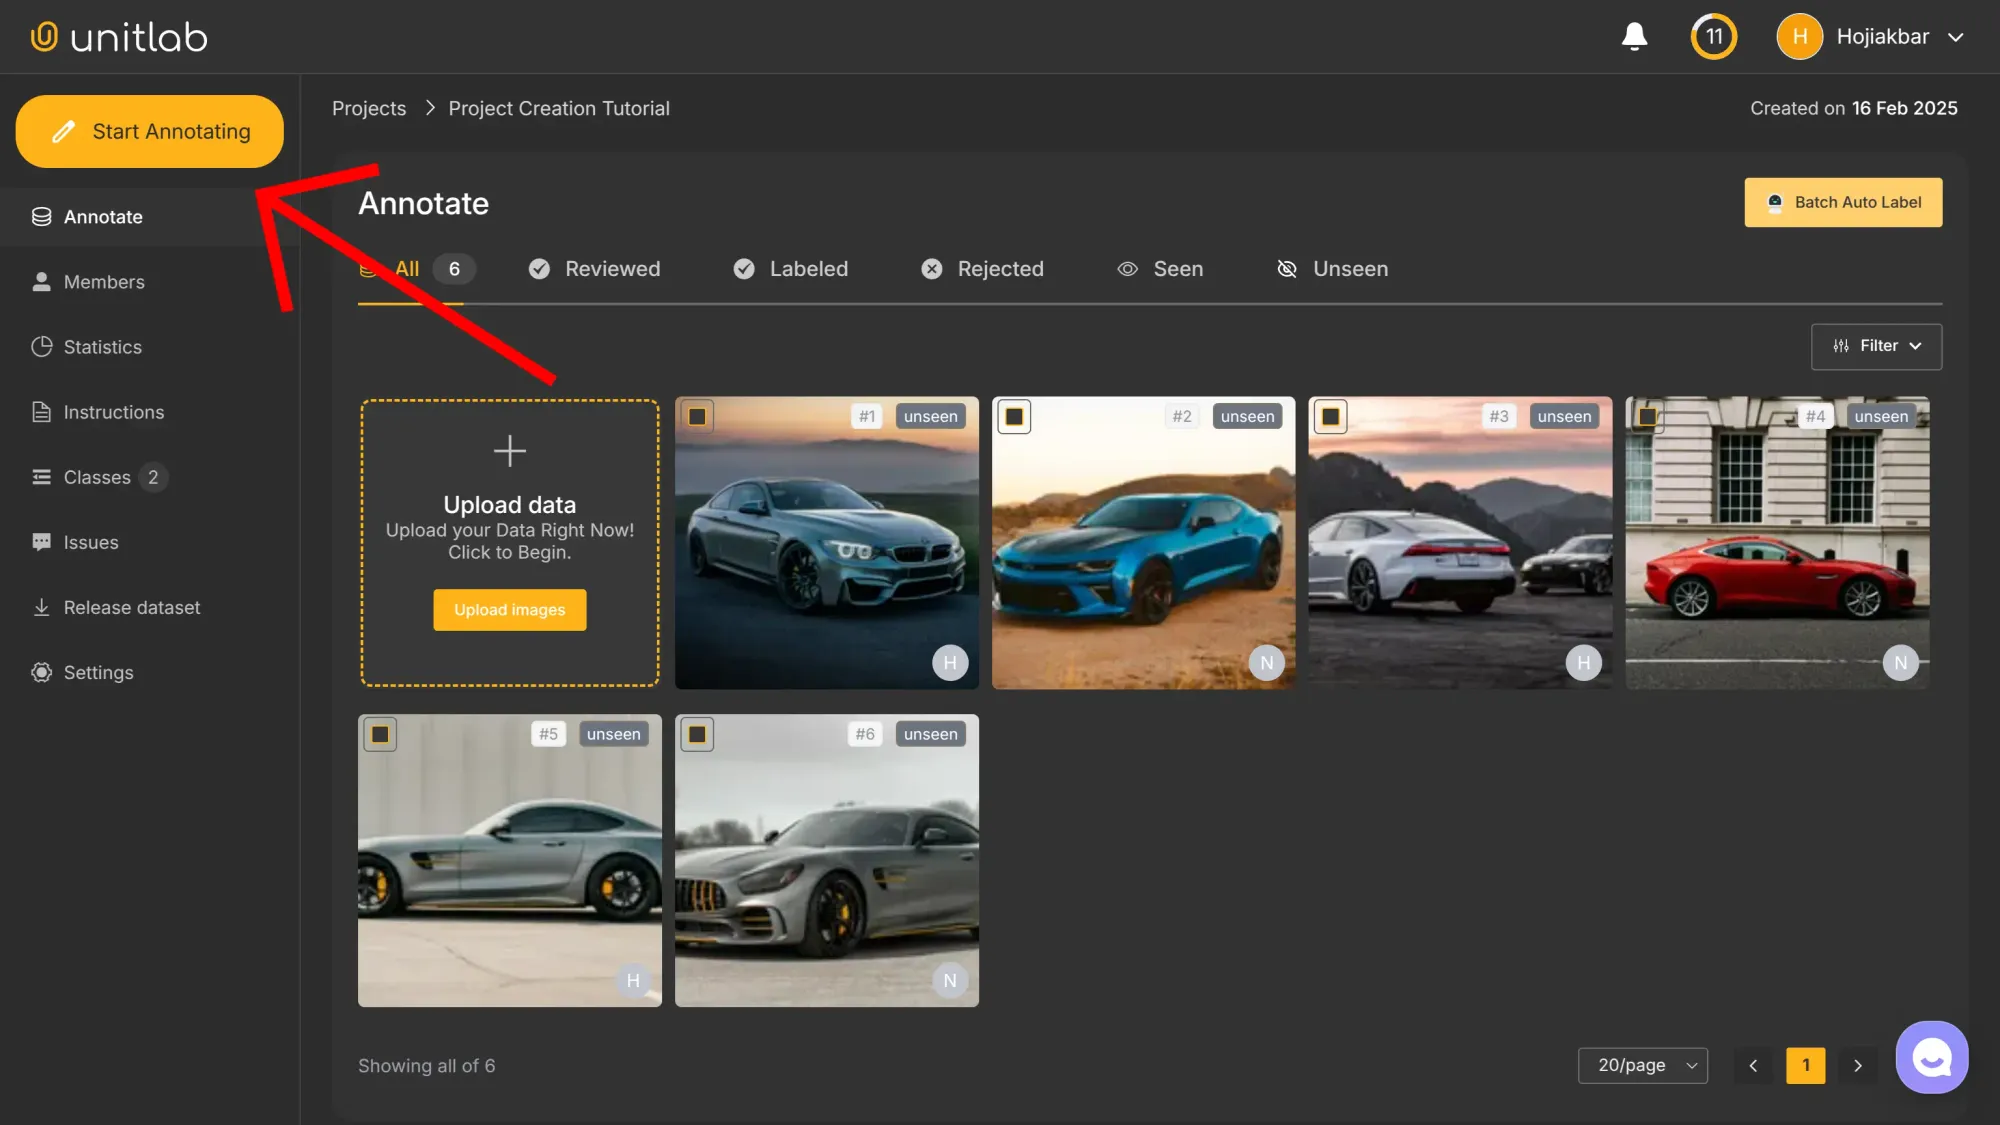
Next, you need to upload data for image annotation. Unitlab offers three ways to upload images:
- Web interface: drag-and-drop functionality for files and folders.
- Unitlab CLI: the command-line interface to automate large uploads.
- Python SDK: the
unitlabPython package to upload images programmatically.
For this tutorial, we’ll use the first and simplest option: the drag-and-drop. If you have a large volume of data, we suggest using either the CLI or SDK to upload your data to your project on our data annotation platform.
The CLI and Python SDK | Unitlab Annotate
You can add tags to your uploaded data to manage them more efficiently. Automatically, it adds auto-incrementing batches every time you upload new data: Batch1, Batch2, Batch3...
3. Add members
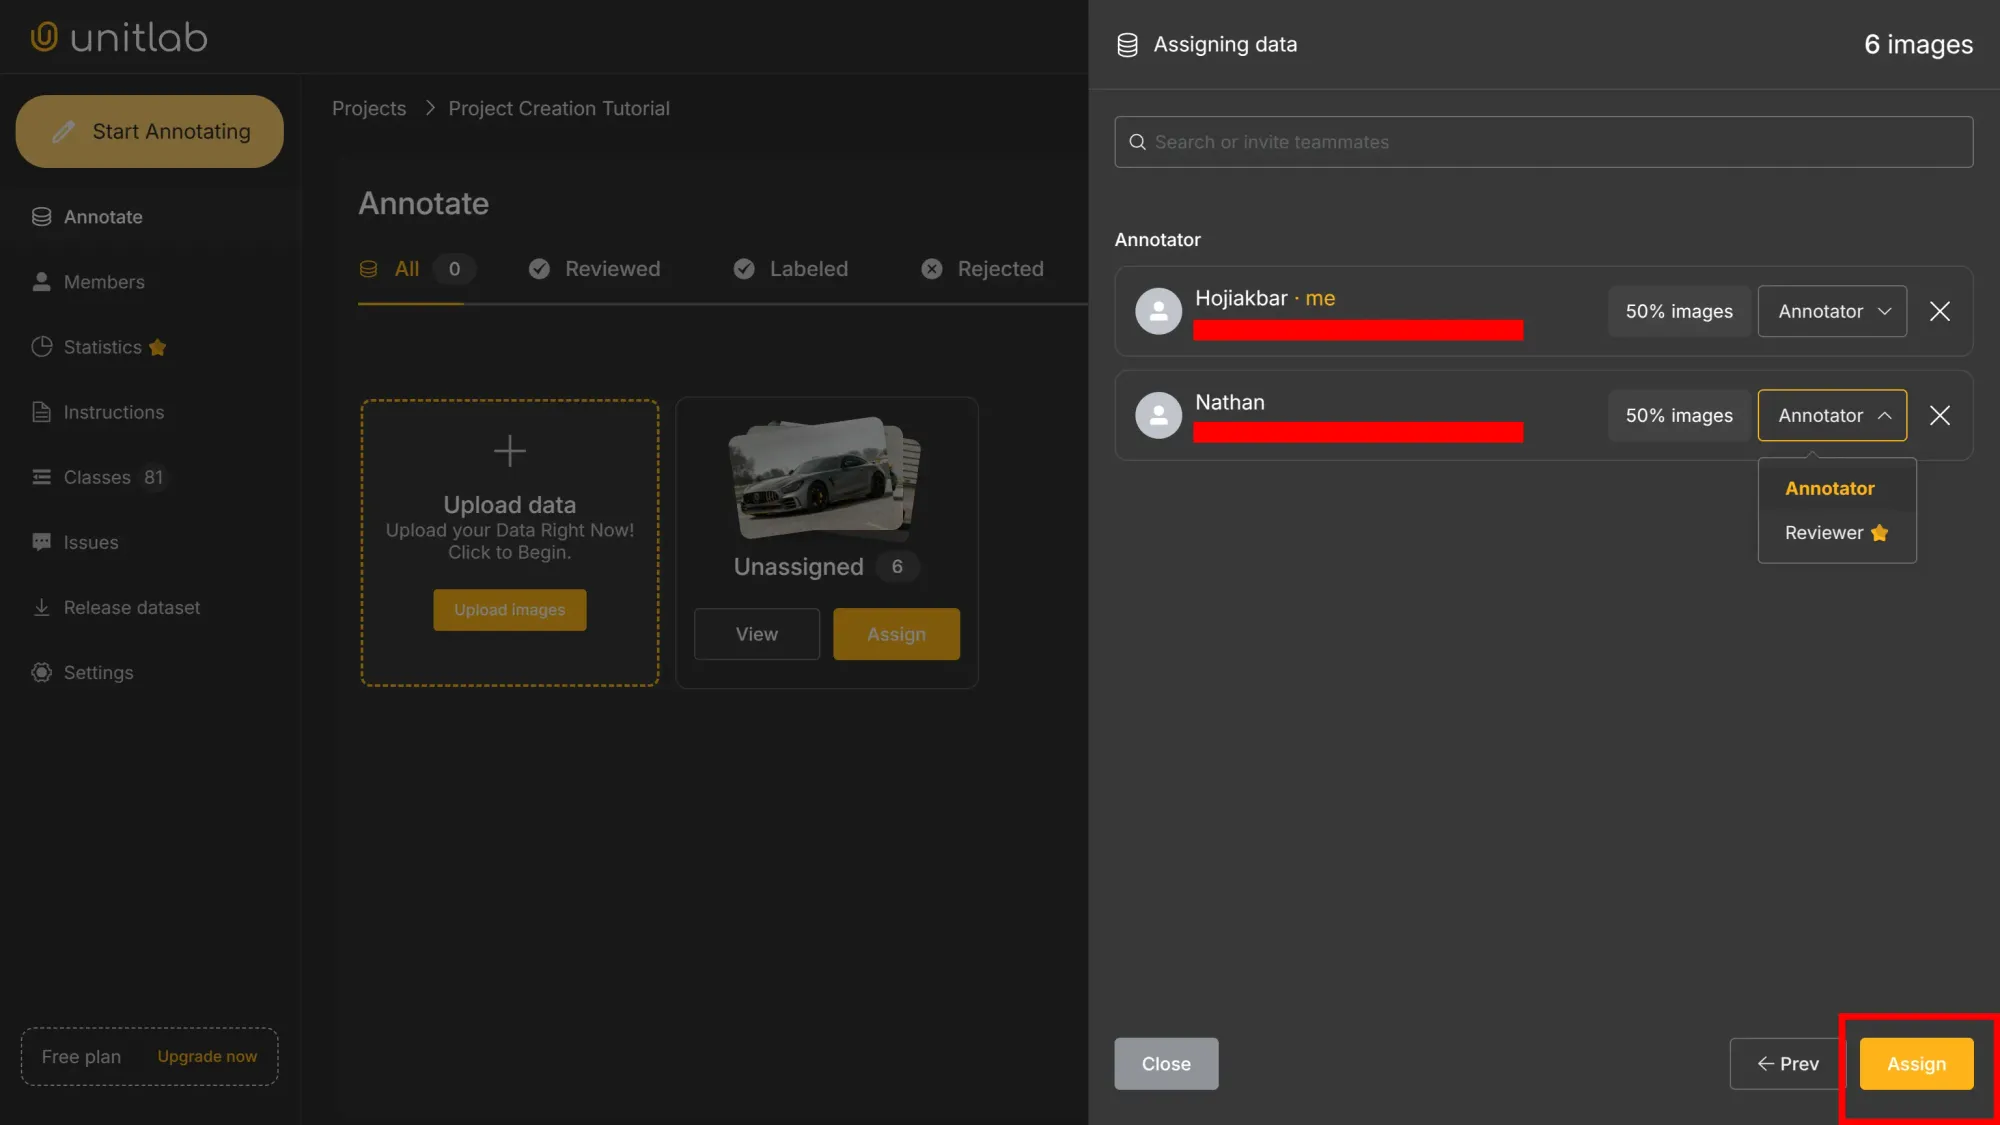
With our data uploaded, we add members to assign them the roles of either Annotator or Reviewer. Note that if you are in the Free or Active plan, the Reviewer role is not available in our pricing model.
With the free plan, we can invite up to three data annotators to collaborate on the project. This feature ensures smooth collaboration by allowing multiple annotators to work on the same project and share the workload equally.
In the paid plan, you can also add data reviewers to review labeld images in your project to ensure data annotation quality and consistency in your image labeling workflows.
4. Add classes
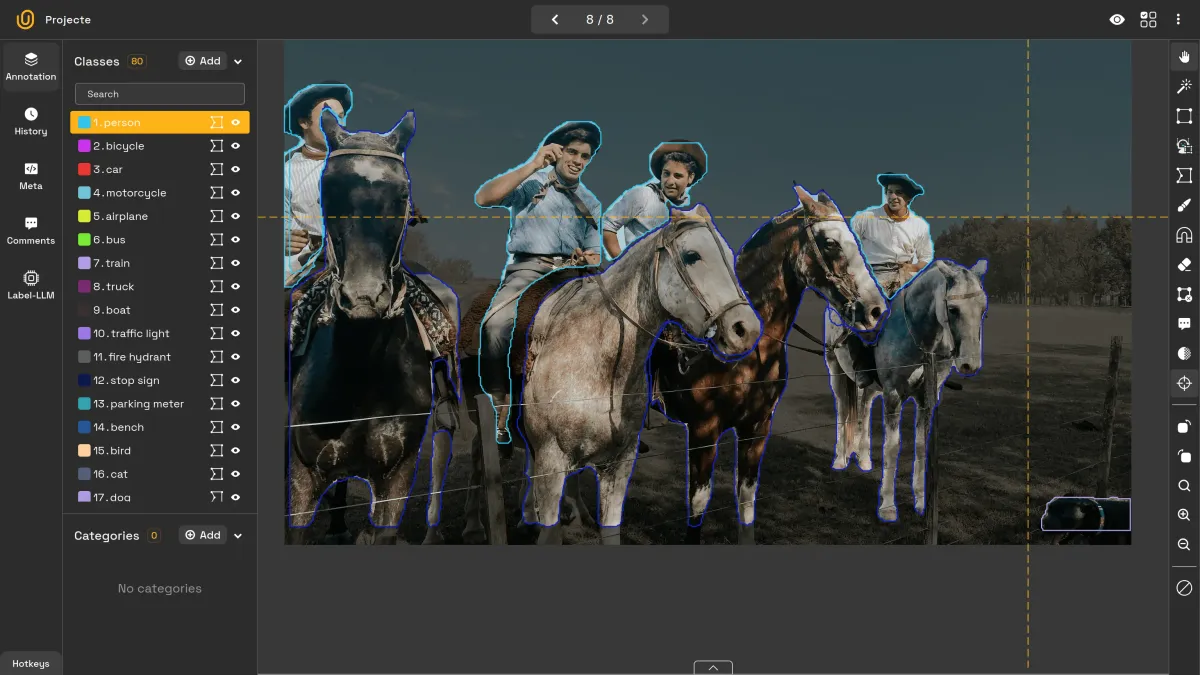
Finally, we can add classes to our project. When annotating images, we will need to define different classes for various objects. For example, we can assign color blue to annotate cars, red for trucks, and green for bikes. Unitlab allows customizing class colors to make our data annotations clear and visually distinct.
If you use AI-powered models to annotate your source data, you may want to add a few custom classes depending on the model you use. Also, you can customize the names and colors of the classes.
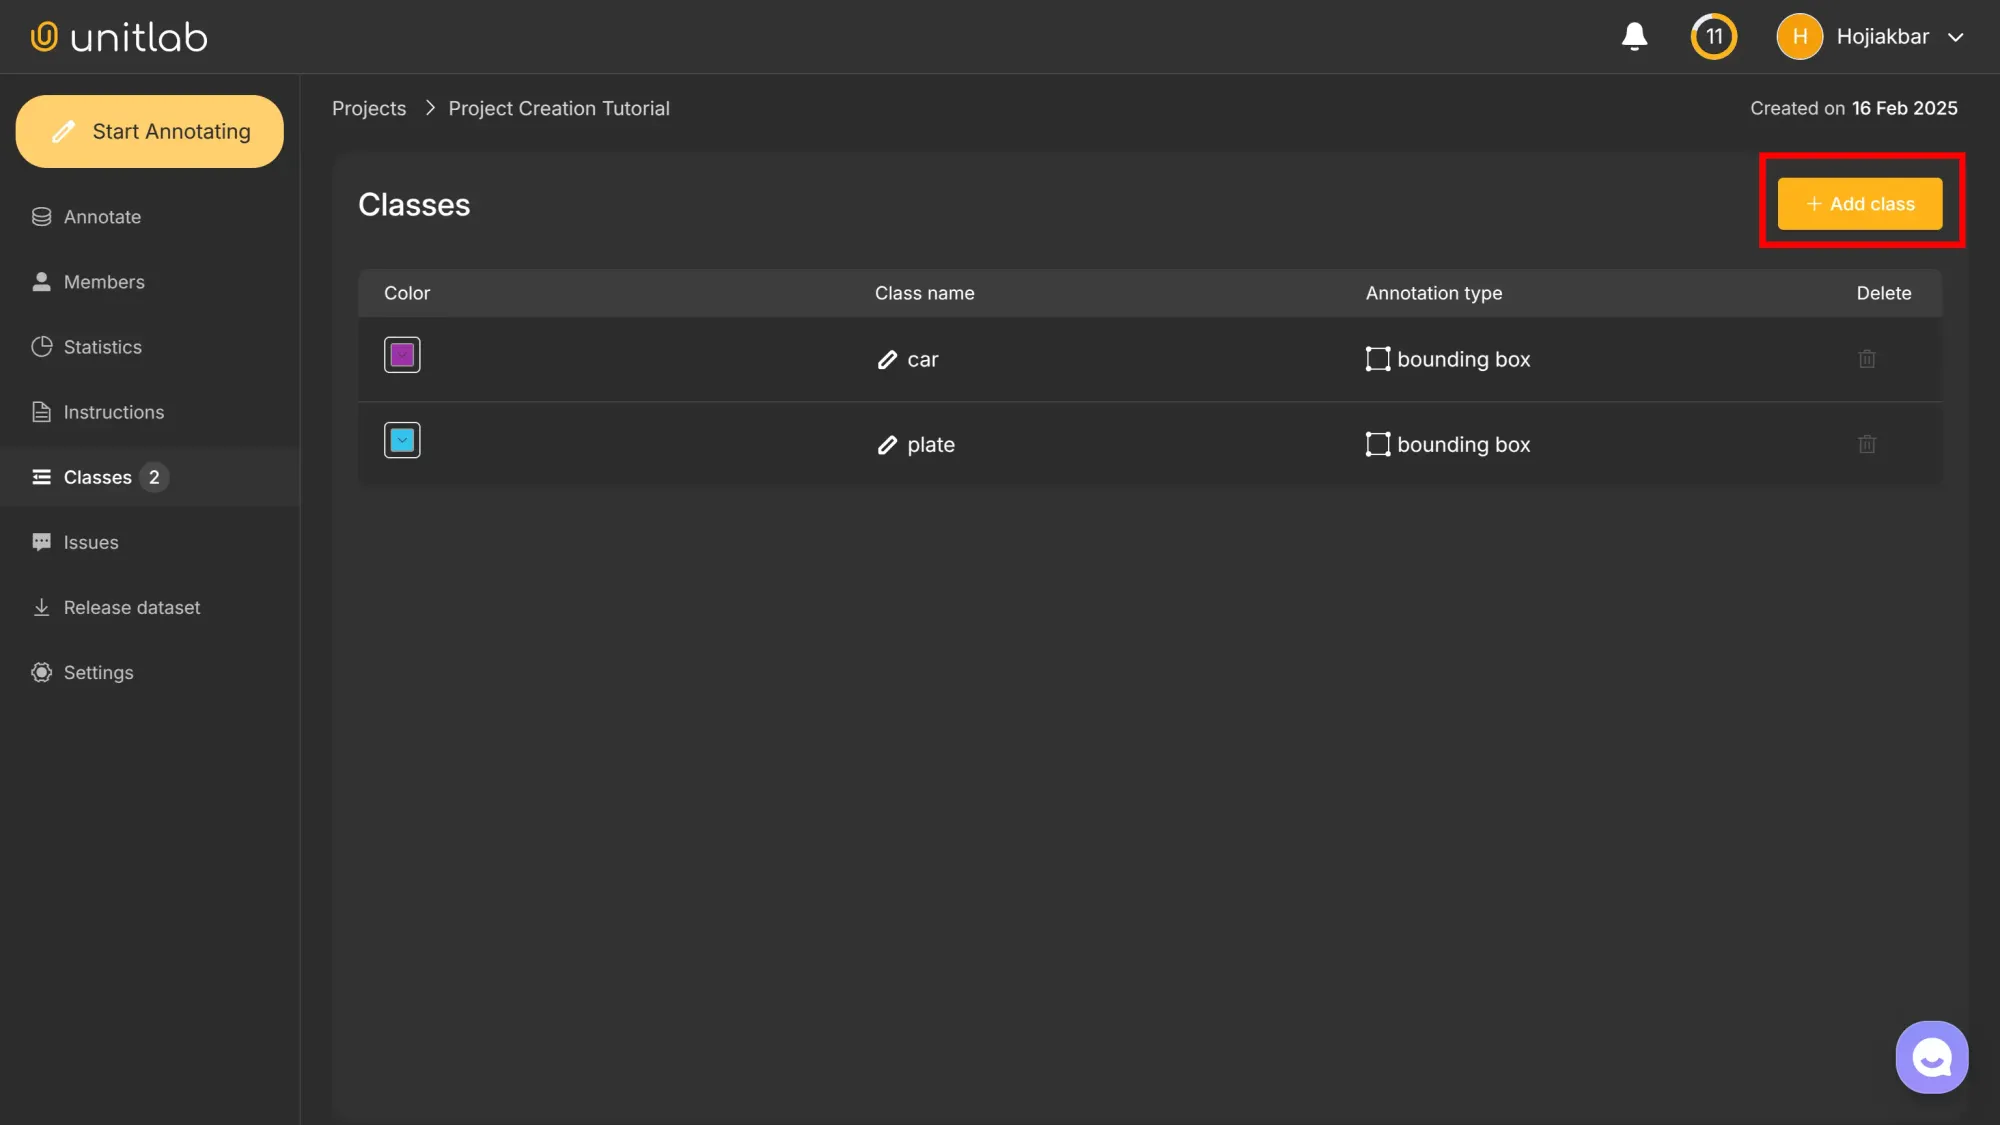
Project Dashboard
Within a minute or two, we can create and configure the project in Unitlab Annotate. The focus is to streamline the data annotation workflow and produce high-quality datasets; as such, the project setup and configuration are as minimal and simple as possible.
We can now start annotating our training data for our AI-powered computer vision models.
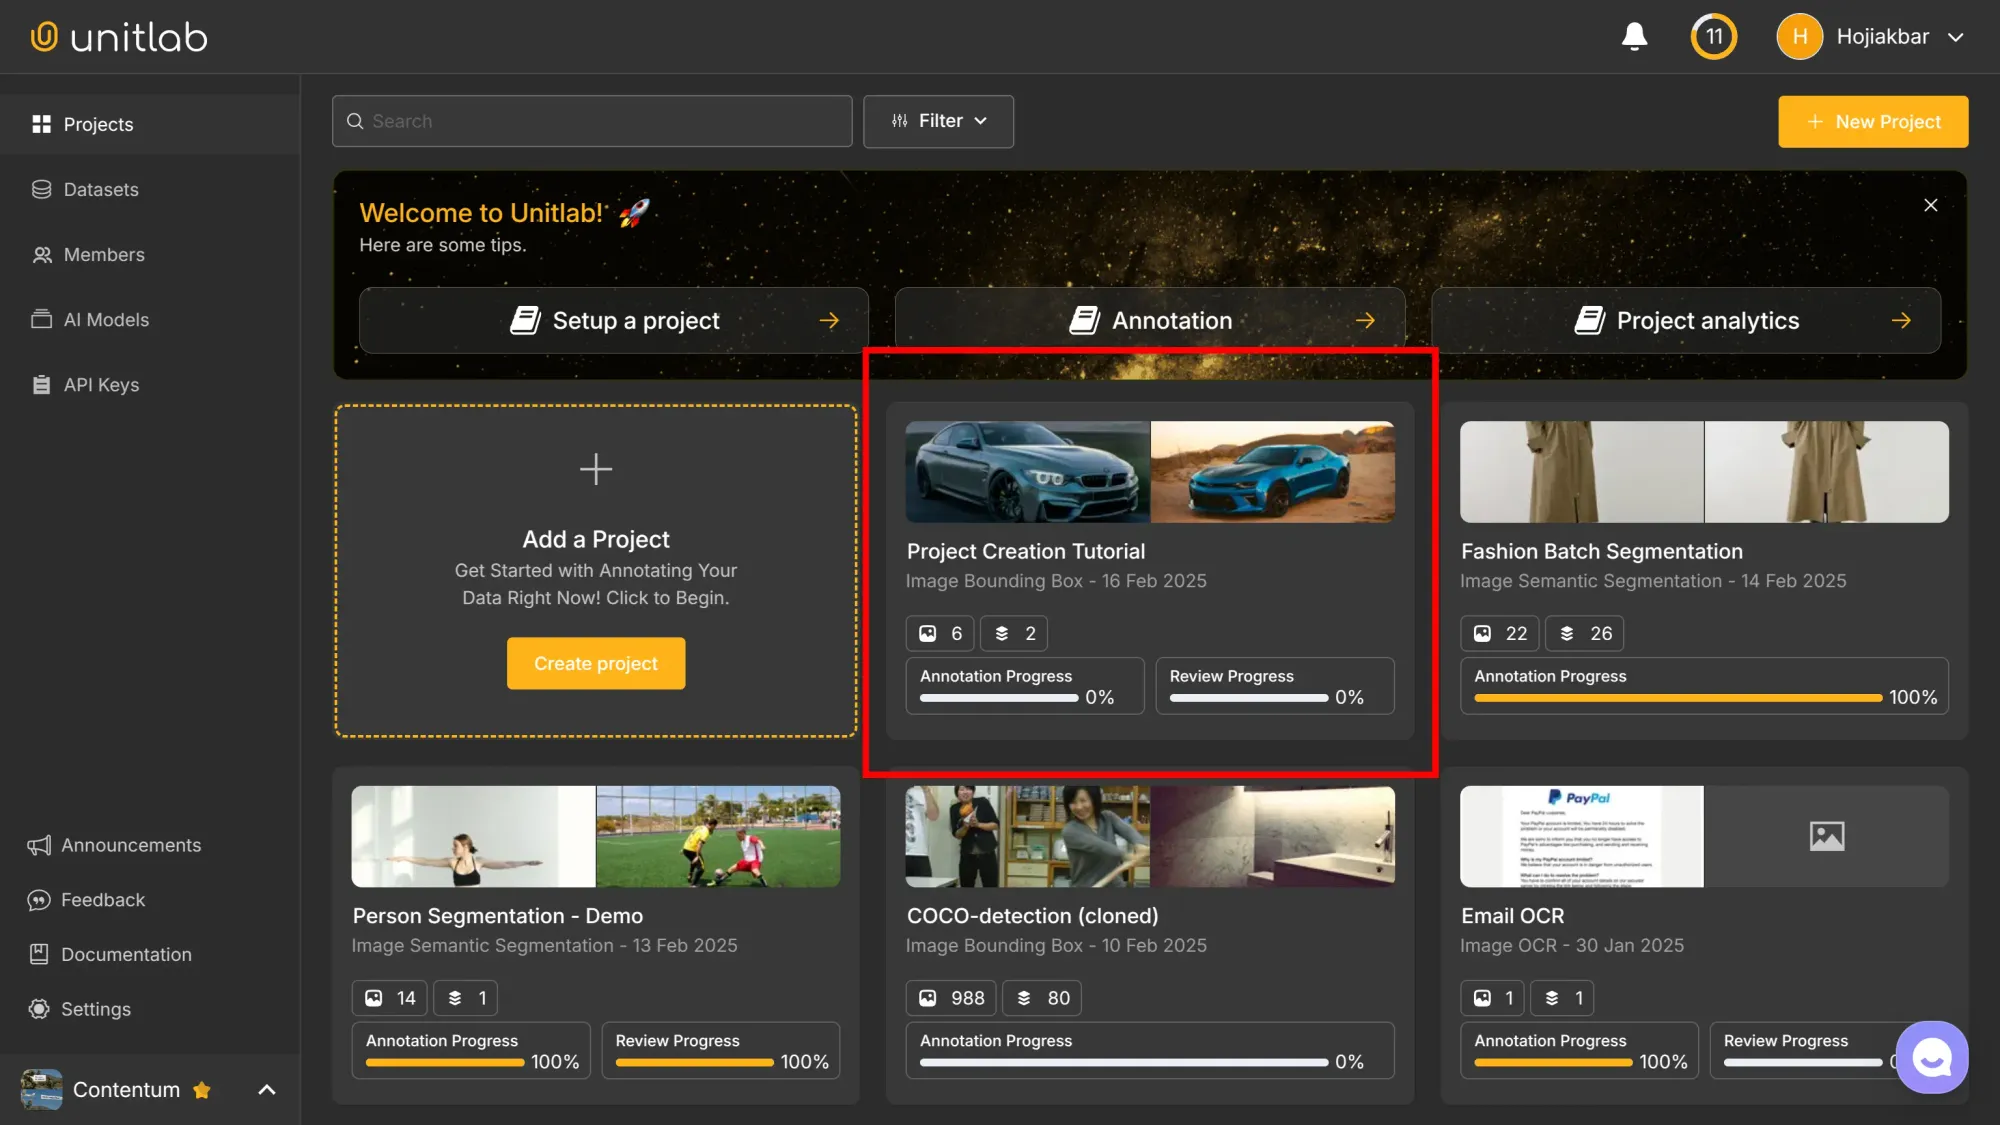
After the project is set up, it will appear on the dashboard. From there, annotators can begin labeling images and monitoring progress on the centralized platform.
Conclusion
Since our focus is on the streamlined data annotation process, project creation in Unitlab Annotate is quick and intuitive, with AI-powered auto-annotation tools that simplify the data annotation process.
Projects can also use various Foundation AI models by Unitlab Annotate or integrate their own models (BYO) models to assist in image labelling. The platform ensures projects are well-organized, version-controlled, and easy to share among team members. With multiple data upload options and the ability to define custom classes, Unitlab Annotate adapts to projects of various sizes and complexities.

